3D printed name keychain: sizes, two colors and print settings
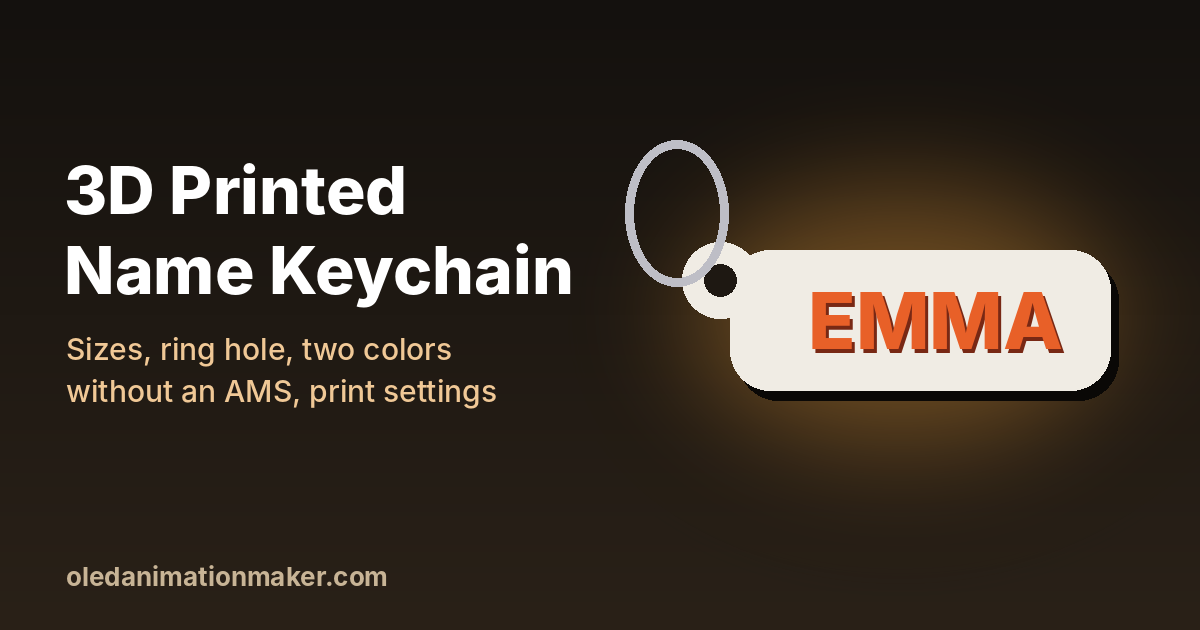
A 3D printed name keychain is one of the best first gifts to make on a new printer. It takes about half an hour, uses a few cents of filament, and everyone likes seeing their own name. It is also easy to get wrong. Thin fonts snap, small holes close up, and the ring loop breaks after a week on a key ring. This guide gives you the sizes that work, the two-color trick that needs no AMS, a way to make a whole list of names at once, and the print settings to use.
Quick answer. Make the keychain 50 to 70 mm (2 to 2.75 inches) wide with a bold font. Use a plate about 1.2 mm thick with raised letters on top and a 5 mm hole for a split ring. Print it flat in PLA at 0.2 mm layers. For two colors without an AMS, pause at the first layer above the plate and swap filament.
What you need
| Item | What to get | Notes |
|---|---|---|
| 3D printer | Any FDM printer: Bambu Lab A1 or P1S, Prusa MK4 or Core One, Creality Ender 3 | A multicolor unit such as the AMS is optional |
| Filament | PLA in two contrasting colors, or PETG for car keys | Each keychain uses about 2 to 4 g |
| Split rings | 25 mm (1 inch) steel split rings, often sold with a short chain | A pack of 100 usually costs under $15 |
| Design tool | The free Text to STL name keychain generator | Runs in the browser, no install |
| Slicer | Bambu Studio, PrusaSlicer, OrcaSlicer or Cura | Needed to add a color pause |
A split ring is the small coiled steel ring that keys slide onto. Ball chain, the beaded chain used on dog tags, also works and is easier for kids to clip onto a backpack.
How to design a 3D printed name keychain
You do not need CAD software. The Text to STL generator builds the plate, the letters and the ring hole for you, and shows a live 3D preview. Designing and previewing are free. Downloading the file needs a free account.
- Type the name. Pick the language first if the name uses a non-Latin script. The tool supports 42 languages.
- Pick a bold font. Choose a heavy sans or rounded font. Skip thin script fonts for now (more on this below).
- Choose the plate. Select Rounded for a classic tag shape, or Auto outline for a plate that follows the shape of the letters.
- Set the size. Type 60 in Width, 0 in Height and 3 in Thickness. Height 0 means the tool sizes the model by width only.
- Add the hole. Under Print extras, tick Keychain hole. Leave Hole Ø at the default 5 mm.
- Check the size line under the preview. It shows the real size, an estimated PLA weight and a print time.
- Download. Use STL for one color or a pause swap. Use 3MF if you have a multicolor printer.
The hole is added as a ring on the left end, outside the width you typed. So a 60 mm design ends up a few millimeters longer once the ring is on. Outline offset sets the margin between the letters and the plate edge. The default of 3 mm suits most keychains. Drop it to 2 mm if you want a tighter, more modern look.
Keychain sizes, thickness and hole size
The Thickness setting controls two things. With raised letters, the plate is 40 percent of the value you type, and never thinner than 0.7 mm. The letters then stand about the full Thickness value above the plate. This table shows what you get and where the color change goes.
| Thickness setting | Plate | Total height | Pause at layer | Best for |
|---|---|---|---|---|
| 3 mm | 1.2 mm | about 4.2 mm | 7 | Bags, zipper pulls, gifts |
| 3.5 mm | 1.4 mm | about 4.9 mm | 8 | Everyday house keys |
| 4 mm | 1.6 mm | about 5.6 mm | 9 | Heavy key bunches, car keys |
For width, 50 to 70 mm (2 to 2.75 inches) fits names of four to eight letters. Keep the letters at least 8 mm tall. Below that, the inside of letters like a, e and o fills in and the name gets hard to read. A long name such as Alexandria is happier at 70 to 80 mm. A short nickname is another easy fix.
For the hole, 4 to 5 mm fits a 25 mm split ring and most ball chains. The first layer is often squashed a little wider than the model, a flaw called elephant's foot. That can shrink a 4 mm hole until the ring will not go in. A 5 mm hole avoids the problem.
Fonts and letters that print well
A 0.4 mm nozzle lays down a line about 0.4 to 0.45 mm wide. Any letter stroke thinner than two of those lines, roughly 0.9 mm, prints weak or not at all. That is why thin script fonts look great on screen and fail on the plate. If you love a script font, make the keychain wider so the strokes grow, or pick a bolder weight.
- Use a plate. With Rounded or Auto outline, the dot on an i or j and the parts of letters like Ö sit on the plate, so nothing floats.
- Letters only needs help. Without a plate, tick Join loose parts or Connect letters so the name prints as one piece.
- Mind the spacing. Letter spacing runs from -25 to 60 percent. A small negative value makes bold letters touch, which looks good on Auto outline.
- Check it in 2D. Switch the preview to 2D and zoom in. Any letter that looks hair-thin there will be weak in plastic.
Make a whole list of names at once
Stocking stuffers, class gifts and team bag tags all need the same design with different names. Typing each one is slow. The generator has a batch option for this.
- Get one name looking right first. The batch uses the current font, plate, size and hole settings.
- Open Batch names → ZIP and type one name per line, up to 40 names.
- Press Download STL ZIP. You get one STL file per name, named after the person.
- Unzip the files and drag them all into your slicer. Press the arrange button so they spread across the plate.
On a 256 × 256 mm plate, as on a Bambu Lab A1 or P1S, you can fit about 20 to 24 keychains of 60 to 70 mm. Every keychain made from the same settings has the same plate height. That means one pause swaps the color for the whole plate at once. The same idea works for the place cards in 3D printed place cards for Thanksgiving dinner.
Two-color keychain with or without an AMS
With an AMS or other multicolor unit
Download the 3MF instead of the STL. It keeps the plate and the letters as separate parts, each with its own color. Open it in Bambu Studio or OrcaSlicer and pick a filament for each part. If the two parts load as separate objects, select both, right-click and choose Assemble so they move together. Never move one without the other, or the letters will float off the plate.
If you are not sure what a 3MF file holds, read 3MF file vs STL first.
Without an AMS: pause at a layer
You can get the same look on any single-nozzle printer with one filament swap. The plate prints in the first color, and the printer stops so you can load the second color for the letters.
- Slice with 0.2 mm layers, including the first layer. With Thickness 3, the 1.2 mm plate fills layers 1 to 6.
- Drag the layer slider up to layer 7, the first layer above the plate. You should see only letters on it.
- In Bambu Studio, right-click the plus icon on the slider and choose Add Pause. In PrusaSlicer, click the plus icon to add a color change.
- Start the print. When it pauses, unload the plate color and load the letter color.
- Purge until the new color runs clean, wipe the nozzle, then resume.
The pause happens before the chosen layer prints, so layer 7 starts in the new color. If you change the Thickness or the layer height, use the table above or check the slider again. Prusa explains the slicer side in its guides to inserting a pause at a layer and color changes. Dark letters on a light plate, such as black on white, are the easiest to read.
Keychain print settings
| Setting | Value | Why |
|---|---|---|
| Orientation | Flat, letters facing up | No supports, and the top of each letter stays crisp |
| Layer height | 0.2 mm | Fast, and it matches the pause layers in the table |
| Walls | 3 | Thin strokes print as solid wall, which is stronger |
| Infill | 15 to 20% | The plate is mostly solid top and bottom layers anyway |
| Nozzle (PLA) | 410 to 428 °F (210 to 220 °C) | Use your filament's own range if it differs |
| Bed (PLA) | 131 to 140 °F (55 to 60 °C) | Good grip on a textured PEI plate |
| Brim | Off, or 3 mm for short names | Small parts can pop loose if the first layer is weak |
| Ironing | Optional, top surfaces only | Smooths the top of the letters for a glossy finish |
A textured PEI sheet gives the back of the keychain a nice grain and hides small marks. Clean the plate with dish soap and water before a big batch. Finger oil is the most common reason small parts lift at the corners. The same first-layer advice helps with every flat print, including the plates in personalized Christmas ornaments.
Finishing and attaching the ring
Pull off any brim and trim strings with a craft knife. If the first layer flared into the hole, twist a 5 mm drill bit through it by hand. To fit a split ring without breaking a nail, push a flat screwdriver tip or a coin into the gap to open it. Then slide the keychain loop along the coil until it comes out the other side.
Troubleshooting name keychain prints
- Problem: thin letters are missing or broken. Why: the strokes are narrower than two nozzle lines. Fix: use a bolder font, make the keychain wider, or set the wall generator to Arachne in your slicer.
- Problem: the split ring will not fit. Why: elephant's foot shrank the hole. Fix: use a 5 mm hole, turn on elephant foot compensation, or drill it out.
- Problem: the loop snapped off. Why: the plate is too thin for the load. Fix: raise Thickness to 3.5 or 4 mm, or print in PETG.
- Problem: the letters are the wrong color. Why: the pause is on the wrong layer. Fix: step the slider one layer at a time and put the pause on the first layer with only letters.
- Problem: the new color is streaky. Why: old filament was still in the nozzle. Fix: purge longer before you resume.
- Problem: fine hairs between letters. Why: stringing from damp filament or low retraction. Fix: dry the spool and use the slicer's stock profile for that filament.
- Problem: the keychain bent in a hot car. Why: PLA softens at around 140 °F (60 °C). Fix: reprint it in PETG.
Next steps
Once you have the keychain down, the same tool makes desk name plates, cake toppers and door signs. For a photo gift that glows, try a lithophane. Start with how to make a lithophane from a photo, then use the lithophane print settings for Bambu, Prusa and Ender.
Frequently asked questions
What size should a 3D printed name keychain be?
About 50 to 70 mm (2 to 2.75 inches) wide for a name of four to eight letters. That keeps the letters at least 8 mm tall, which is easy to read and prints cleanly with a 0.4 mm nozzle.
How thick should a 3D printed keychain be?
Aim for a plate of 1.2 to 1.6 mm with raised letters on top. In the Text to STL generator that means a Thickness of 3 to 4 mm. Go thicker for a keychain that will carry heavy keys.
What size hole does a keychain need?
A 4 to 5 mm hole fits a standard 25 mm (1 inch) split ring and most ball chains. Use 5 mm if your printer squishes the first layer, because that can shrink a small hole.
Can I print a two-color keychain without an AMS?
Yes. Print the plate in one color and add a pause or filament change at the first layer above the plate. When the printer stops, swap the filament and resume. The letters print in the second color.
What is the best filament for keychains?
PLA is the easiest and looks the sharpest. PETG is tougher and handles a hot car better, because PLA starts to soften at around 140 °F (60 °C). Use PETG for keychains that live on car keys.
Related guides
- Image to STL: turn a drawing or logo into a 3D print
- 3D printed place cards for Thanksgiving dinner
- Personalized Christmas ornaments: 3D print names and photos
- 3MF file vs STL: how to open, convert and share 3MF files
- How to make a lithophane from a photo
- Christmas shadow box lamp: 3D print a glowing wall scene
Free tools: Lithophane Maker for flat, curved, heart, round and cylinder lamp lithophanes, the Shadow Box Lamp Generator for wall shadow lamps, Text to STL for names and keychains, and 3MF to Web to show your prints on a website. See all tools.