Image to STL: turn a drawing or logo into a 3D print
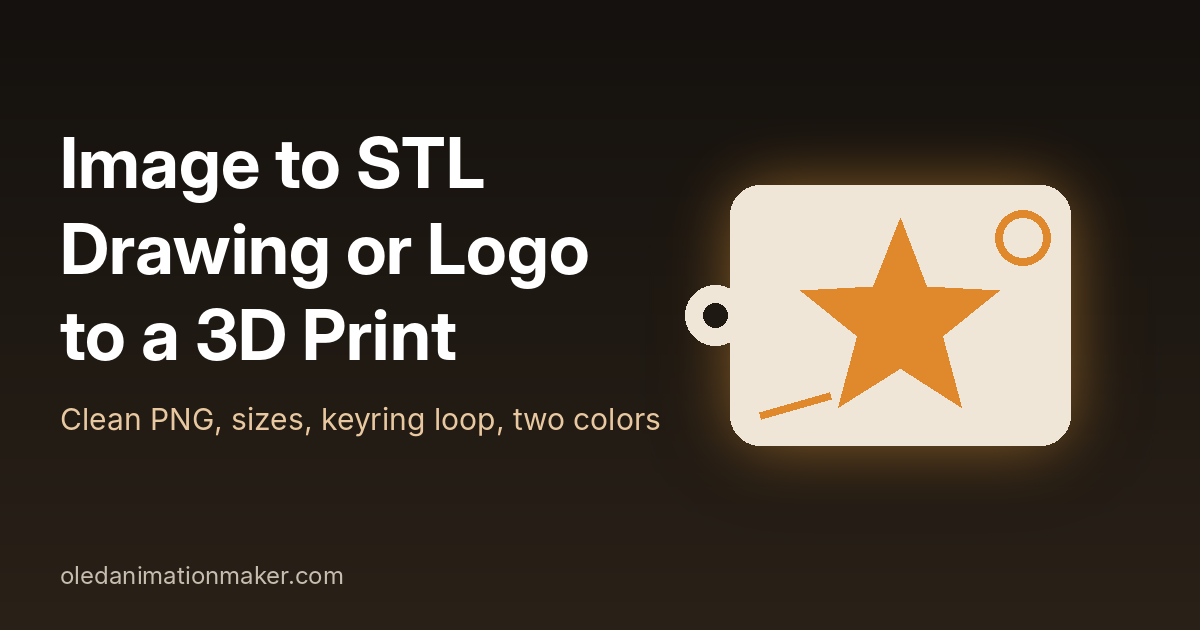
An image to STL converter takes a flat picture, such as a logo, a pet silhouette or a child's drawing, and turns its dark parts into a solid 3D shape you can print. It is one of the most popular holiday gift prints right now. A kid's doodle becomes a keychain for grandma, and a small business logo becomes a batch of tags. This guide shows how to prepare the image so it converts cleanly, which sizes print well, and how to add a keyring loop and a second color.
Quick answer. Use one dark color on a pure white or transparent background, with lines at least 1 mm wide at the finished size. Load it into a free image to STL tool, set the width (50 mm for a keychain, 75 mm for an ornament) and a 2.5 to 3 mm thickness. Add a backing plate if the drawing has separate pieces, then print in PLA at 0.2 mm layers.
What kind of image works for image to STL
This kind of converter does not guess depth. It is not an AI 3D model maker. It reads every pixel as either "solid" or "empty" and pushes the solid parts up to one height. The result is often called a 2.5D print: a flat shape with straight sides, like a cookie cutter or a name tag. That is exactly what you want for keychains, ornaments, magnets, badges and wall signs.
| Image | Result | What to do |
|---|---|---|
| Logo or icon (PNG) | Excellent | Use it as it is, ideally with a transparent background. |
| Silhouette (pet, tree, star) | Excellent | Fill it solid black; one shape prints as one piece. |
| Child's marker drawing | Good | Scan it, thicken thin lines, use a backing plate. |
| Pencil sketch | Poor | Trace over it in black marker first. |
| Photo of a face or scene | Poor | Make a lithophane from the photo instead. |
Only use images you made yourself or have the right to use. Your own drawings, your kids' art, your pet and your own business logo are all fine. Cartoon characters and brand logos are not yours to print and sell.
What you need
- A 3D printer. Any Bambu Lab, Prusa or Creality printer with a 0.4 mm nozzle works. An AMS or MMU is only needed for automatic two-color prints.
- PLA filament. One roll is about $15 to $25 in the US, and a 50 mm keychain uses only 3 to 5 grams.
- The image as a PNG or JPG. A phone is enough to scan paper drawings.
- A free converter. I use the Draw tab of our Text to STL and Image to STL tool, which runs in the browser and downloads STL, 3MF or SVG.
- A split ring (25 mm or 1 inch is common), a magnet, or ribbon, depending on what you make.
Step 1: prepare a clean PNG
Most failed image prints are decided here, before you open any tool. The tool I use counts a pixel as solid when it is darker than near-white. Light gray counts as solid too. That rule is simple, so the image has to be clean.
- Scan, do not snap. A normal phone photo of white paper comes out light gray, with a shadow at one edge. Use a scan mode instead: Notes on iPhone or the scan button in Google Drive on Android. Both flatten the page and make the paper pure white.
- Crop tight around the drawing so it fills the frame. Extra paper only shrinks the drawing.
- Raise the contrast. In any photo editor, push brightness and contrast up until the paper is white and the lines are black.
- Remove the background for logos. A PNG with a transparent background converts perfectly, because transparent areas count as empty.
- Thicken thin lines. See the size rule in the next section.
Colors do not matter to the converter. Red, blue and yellow all become the same solid shape. Only white and very pale tints stay empty. So a white letter inside a colored badge becomes a hole, which is often what you want.
The 1 mm line rule (why thin lines vanish)
A 0.4 mm nozzle cannot print a line much thinner than about 1 mm and keep it strong. The catch is that your drawing shrinks a lot. A drawing on letter paper is about 8 inches (200 mm) wide. Shrink it to a 50 mm keychain and every line gets four times thinner. A 2 mm marker stroke becomes 0.5 mm, which is too thin to print well.
A quick check: divide the finished width by the drawing width, then multiply by the line width. Aim for 1 mm or more.
In practice that means a thick chisel marker for kids' drawings, or a bigger print. If the lines are still thin, trace over them on the tool's pad with the Brush. Brush sizes run from 3 to 48 pixels on a 360 pixel pad. If the drawing fills the pad and you print it 50 mm wide, a brush of about 8 pixels gives roughly 1 mm lines.
| Width | Thickness | Backing plate | |
|---|---|---|---|
| Keychain | 45 to 60 mm (about 2 inches) | 2.5 mm | Only if there are loose parts |
| Christmas ornament | 70 to 90 mm (about 3 inches) | 2.5 to 3 mm | Yes, for drawings |
| Fridge magnet | 50 to 70 mm | 3 mm | Yes, for a flat back to glue on |
| Wall or door sign | 150 to 200 mm (6 to 8 inches) | 3 to 4 mm | Yes |
| Stencil (cut-out) | Any | 1.2 to 2 mm | No, use Invert |
Step 2: convert the image to STL in the browser
- Open the Image to STL Draw tab. The pad is a square of 360 by 360 pixels.
- Press Load image and pick your PNG or JPG. It is scaled to fit the pad and centered, keeping its shape.
- Use the Eraser to wipe stray specks. Each speck would print as a tiny loose piece.
- If the drawing is only outlines, click inside each closed shape with the Fill tool to make it solid. Undo keeps your last 24 steps.
- Type the finished Width in millimeters (default 80) and the Thickness (default 3, minimum 0.6).
- Tick Add backing plate if the drawing has separate pieces, such as eyes or letters.
- Press Generate. Read the line under the preview: it shows the real width, height and thickness, plus estimated PLA grams and minutes.
- Download the STL for one color, the 3MF for two colors, or the SVG if you want to edit the outline in other software.
The 2D view in the preview is the best place to spot problems. If something looks wrong there, it will print wrong too.
Backing plate or no backing plate?
Without a backing plate, every separate shape becomes a separate part. A filled silhouette prints as one piece. A face with two loose eyes prints as three pieces, and the eyes fall off the bed.
A backing plate fixes that. It adds a rounded rectangle under the whole drawing, with a margin of about 8 percent of the drawing's size. The plate is 45 percent of the Thickness value (never under 0.8 mm), and the drawing stands on top at the full Thickness.
So a Thickness of 2 mm gives a 0.9 mm plate plus 2 mm of raised drawing, for a 2.9 mm total. That is a nice keychain thickness. For an outline drawing on a plate, you can skip the Fill step, because the lines are held by the plate.
Invert for stencils and cut-outs
Invert swaps solid and empty. The whole square pad becomes a plate and your drawing is cut through it. That makes a stencil for painting or for spraying snow on a window.
Keep islands in mind: the middle of a letter O has nothing holding it, so it falls out. Before you invert, use the Eraser to cut a small gap in each closed loop. That gap becomes a bridge that holds the middle in place.
Step 3: add a keyring loop or hanging hole
The Draw tab does not add a keyring hole for you. The Text tab does, which is why a 3D printed name keychain is easier to make there. For an image you have two good options.
- Draw the loop on the pad. With the Brush, paint a thick ring that touches the edge of the drawing. Leave an empty middle at least 5 mm across at the finished size, and at least 2.5 mm of plastic around it. This only works without a backing plate, because the plate would cover the hole.
- Cut the hole in the slicer. In Bambu Studio, right-click the model and add a negative part, a cylinder 5 mm across, and push it through the whole print. The Bambu Lab wiki page on negative parts shows the menu. PrusaSlicer and OrcaSlicer have the same feature. The hole must go right through, or the slicer fills it with infill.
For an ornament, put the hole at the top center so it hangs straight. For a name plus a picture, make the name in the Text tab, then load both files into one object in the slicer with Add part and overlap them. The personalized Christmas ornaments guide has more ornament sizes and hanging ideas.
Step 4: print an image STL in two colors
A raised drawing on a plate looks best in two colors: a cream or white plate with a dark or bright drawing. The 3MF download keeps the plate and the drawing as two separate parts, already colored cream and orange in the preview. If you are new to 3MF, 3MF file vs STL explains what the format keeps that STL loses.
- With an AMS or MMU: open the 3MF, then pick a filament for each part in the object list. Slice and print.
- Without one: print the STL and pause at the layer where the drawing starts. Scrub the layer slider in the slicer preview, find the first layer that shows only the drawing, and add a pause or filament change there. Swap the filament when the printer stops.
A tip for clean pauses: choose a Thickness that makes the plate a whole number of layers. A Thickness of 4 mm gives a 1.8 mm plate, which is exactly nine 0.2 mm layers. The drawing then starts cleanly on layer 10. The 3D printed place cards guide walks through the same pause method step by step.
Print settings that work
| Setting | Value |
|---|---|
| Material | PLA (PETG for a keychain that lives in a hot car) |
| Layer height | 0.2 mm (0.12 mm for fine detail on small prints) |
| Walls | 3 |
| Infill | 20 to 30 percent |
| Nozzle | 410 °F (210 °C) for most PLA |
| Bed | 140 °F (60 °C), smooth plate for a glossy back |
| Orientation | Flat on the bed, drawing facing up |
Print flat so the layers run across the whole shape. A flat keychain is strong in the directions it gets pulled. A smooth PEI or glass plate gives a shiny back face, which looks great on ornaments.
Troubleshooting image to STL problems
- The whole picture is a solid square. Why: the background is light gray, not white. Fix: scan the drawing, raise the brightness, or remove the background, then load it again.
- Random dots and crumbs on the plate. Why: JPG noise or paper texture became tiny solid islands. Fix: erase them on the pad, or save the image as a clean PNG.
- Lines broke or did not print. Why: they are thinner than about 1 mm at the finished size. Fix: print bigger, or trace over them with a thicker Brush.
- Fill turned the whole pad dark. Why: the outline has a gap, so the fill leaked out. Fix: press Undo, close the gap with the Brush, then fill again.
- Small pieces came loose. Why: they are separate islands with no plate. Fix: tick Add backing plate, or join them to the main shape with the Brush.
- The keyring loop snapped. Why: too little plastic around the hole. Fix: keep at least 2.5 mm of material around it, and use 3 or 4 walls.
- The 2D preview looks blocky. Why: a very busy image is simplified before conversion. Fix: crop closer and remove fine background detail.
Gift ideas that print well
- Kid art keychains for grandparents, with a cream plate and a black drawing.
- Pet silhouette ornaments from a side-on photo traced into a solid shape.
- Logo tags for a small shop, printed in a batch of 10 to 20 on one plate.
- Handwriting magnets from a scanned note or signature, thickened with the Brush.
If you would rather make a glowing gift, a shadow lamp or a lithophane turns a picture into light instead of a raised shape.
Frequently asked questions
Can you turn a picture into an STL file?
Yes, if the picture is a flat shape such as a logo, an icon, a silhouette or a line drawing. The converter turns the dark areas into a raised shape of the thickness you choose. A normal photo with shading works better as a lithophane.
What image works best for image to STL?
A PNG with one dark color on a pure white or transparent background, with thick lines and no shadows. Avoid gradients, light gray backgrounds and tiny text.
Why does my image turn into a solid block?
The background is not pure white. A phone photo of paper is usually light gray, and the converter treats anything darker than near-white as solid. Scan the page, raise the brightness, or remove the background first.
How thick should an image keychain be?
About 2.5 to 3 mm in total. That is strong enough to survive a pocket and still prints in under an hour. Keep every line at least 1 mm wide at the finished size.
Can I 3D print my child's drawing?
Yes. Ask for the drawing in a thick black marker on white paper, scan it, and print it with a backing plate so separate lines stay joined. It makes a good keychain, magnet or ornament.
Is SVG or PNG better for 3D printing?
SVG keeps perfectly sharp edges, but a large, clean PNG gives the same result in most image converters. If an SVG will not load, export it as a PNG at 1000 pixels or more across.
Next steps
Open the free Image to STL tool, load your cleanest image and print one small test at 50 mm before you make a batch. When the test looks right, scale it up or add the second color.
Related guides
- 3D printed name keychain: sizes, two colors, print settings
- Personalized Christmas ornaments: 3D print names and photos
- 3MF file vs STL: how to open, convert and share 3MF files
- 3D printed place cards for Thanksgiving dinner
- How to make a lithophane from a photo
Free tools: Lithophane Maker for flat, curved, heart, round and cylinder lamp lithophanes, the Shadow Box Lamp Generator for wall shadow lamps, Text to STL for names and keychains, and 3MF to Web to show your prints on a website. See all tools.