3D printed place cards: name cards for Thanksgiving and Christmas dinner
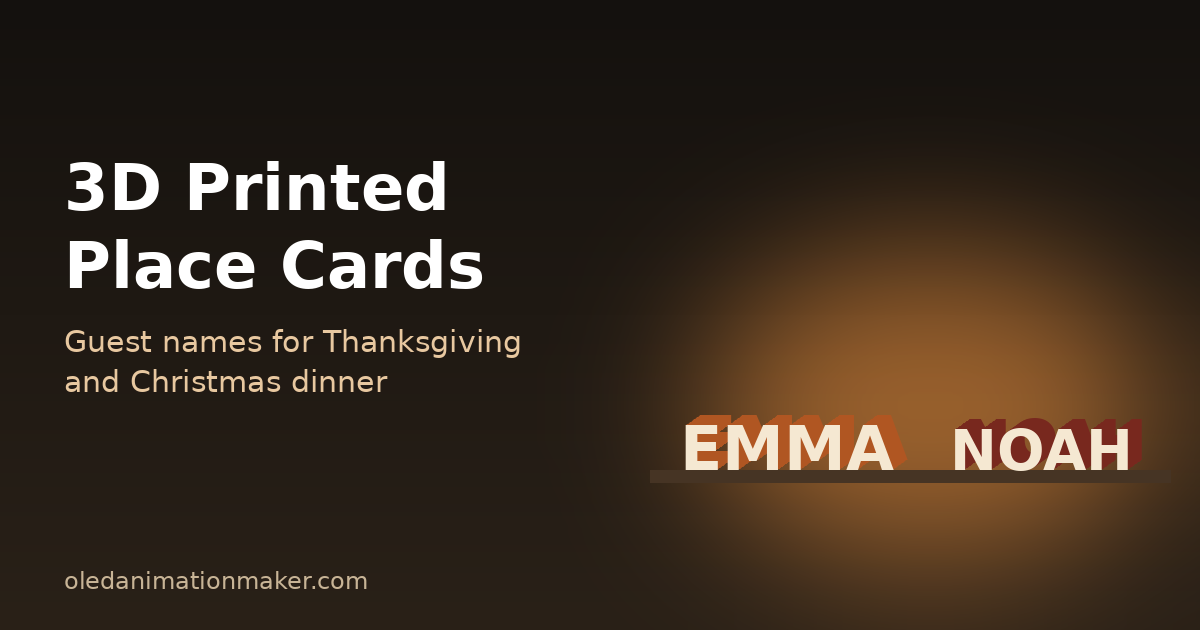
3D printed place cards are guest names that stand up on their own, one above each dinner plate. They look far nicer than folded paper, they do not blow over, and guests can take them home. This guide shows how to make a full set for Thanksgiving (November 26, 2026) or Christmas dinner. You will design the names for free in your browser, export every guest in one go, and print them in one or two colors on any FDM printer.
Quick answer. Open the free Text to STL tool, pick the Desk stand plate, type a name and set it about 100 mm (4 inches) wide and 10 to 14 mm deep. Paste the whole guest list into Batch names to get one STL per guest. Print them face down in PLA at 0.2 mm layers. For two colors without an AMS, add a pause just above the 0.8 mm face layer.
Three styles of 3D printed name place cards
There are three common ways to make a printed place card. They differ in how they stand, how long they take and what guests do with them afterwards.
| Style | How it stands | Print time | Best for |
|---|---|---|---|
| Standing name (Desk stand plate) | The letters are fused into one thick block with a flat bottom | 45 to 90 min each | The main table; guests keep it as a shelf name |
| Flat name tag in a holder | A thin tag slides into a printed or bought card holder | 15 to 25 min per tag | Large parties, weddings, reusing the same holders every year |
| Name keychain | Leans against a glass or sits on the napkin | 15 to 30 min each | A small favor that doubles as a place card |
This guide focuses on the standing name, because it needs no extra parts and looks the most finished. The keychain version uses the same steps with a different plate, and I cover it near the end.
What you need
- A 3D printer with a bed of at least 180 × 180 mm. A Bambu Lab A1 mini, P1S, Prusa MK4 or Creality Ender 3 all work.
- PLA filament in one or two colors. A 1 kg spool costs about $15 to $25 in the US, and one card uses roughly 10 to 20 g, so a table of ten costs a few dollars.
- The guest list, typed out with the exact spelling and any nicknames people prefer.
- A slicer: Bambu Studio, PrusaSlicer, OrcaSlicer or Cura.
- The free Text to STL name plate maker, which runs in the browser with nothing to install.
How to make 3D printed place cards in Text to STL
Design one card first and get it right. Every other name will copy its font, size and plate, so this is the step that decides how the whole set looks.
- Open Text to STL and type a typical guest name, such as a six or seven letter one.
- Under the plate choices, pick Desk stand. The tool fuses the letters into one solid shape with a flat bottom, so it stands up on its own.
- Choose a bold font. Chunky sans fonts and rounded display fonts print best. Thin script fonts look lovely on screen but can break apart at this size.
- Set Width to about 100 mm and Height to 0, so the name sizes by width only.
- Set Thickness to 10 to 14 mm. This is the depth of the card, front to back, and it is what keeps it from tipping over.
- Leave Face layer at 0.8 mm. This thin front layer is the part that can be a second color.
- Read the size line under the 3D preview. It shows the real size, an estimated PLA weight and a print time.
One detail catches people out. When you first pick Desk stand, the tool raises the width to 150 mm and the thickness to 14 mm if yours were still at the small defaults. That suits an office name plate, but it is too big for a dinner table. Pick the plate first, then type your own width and thickness.
The Desk stand plate can also take two lines. The first line becomes a smaller title above the name, joined to it by two short posts. A title such as "GRANDMA" above "ROSE" works well for family dinners. The Title size slider runs from 30 to 80 percent of the name size, and 55 percent is the default. Keep titles short, or the name gets small.
What size should a place card be?
A dinner place setting is usually about 24 inches (610 mm) wide, and the card sits above the plate. It needs to be readable from a standing position but must not block the view across the table. These sizes work well:
| Name length | Width | Thickness (depth) | Letter height (about) |
|---|---|---|---|
| 3 to 5 letters (Amy, Jacob) | 80 to 90 mm (3.1 to 3.5 in) | 10 mm | 22 to 28 mm |
| 6 to 8 letters (Michael) | 100 to 110 mm (3.9 to 4.3 in) | 12 mm | 18 to 24 mm |
| 9 or more letters (Alexandra) | 120 to 130 mm (4.7 to 5.1 in) | 14 mm | 15 to 20 mm |
The letter height depends on the font, so treat that column as a guide. If a long name comes out with letters under 15 mm tall, it gets hard to read. Shorten it to a first name only, or allow a wider card.
Make a place card for every guest in one batch
Typing each name by hand gets slow past four or five guests. The batch feature does the whole list at once.
- Open the Batch names → ZIP section under the advanced settings.
- Paste the guest list with one name per line. You can add up to 40 names.
- Click Download STL ZIP. You get one STL file per guest, named after them.
The batch uses the current language, font, plate and size, which is why you design one card first. Each line becomes one name, so a two-line title does not carry into the batch. For titled cards, make those few by hand. The ZIP holds STL files, which carry shape but no color. That is fine, because the color change below works on an STL too.
Two-color 3D printed place cards, with or without an AMS
The Desk stand shape is built in two parts. A thin face sits at the bottom of the model, and the body of the letters sits on top of it. When you lay the card face down on the bed, the face is simply the first 0.8 mm of the print. That makes a two-color card easy on any printer.
With an AMS or other multi-material unit
Download the 3MF file for each name instead of the STL. The 3MF keeps the face and the body as separate parts, so Bambu Studio or OrcaSlicer lets you give each part its own filament. A cream or white face with a darker body reads best from across a room.
Without an AMS: pause at layer
- Load the face color first, for example cream or gold.
- Slice with 0.2 mm layers. The 0.8 mm face fills layers 1 to 4.
- Drag the layer slider to layer 5, the first layer of the body.
- In Bambu Studio, right-click the plus icon on the slider and choose Add Pause. In PrusaSlicer, click the plus icon to add a color change.
- When the printer stops, unload the first filament, load the second, purge until the new color runs clean, and resume.
The pause runs before the chosen layer prints, so layer 5 starts in the new color. If you change the face layer or the first layer height, check the layer number again. Prusa's guide to pausing at a layer explains the same idea for its printers. The same trick is used for name ornaments in personalized Christmas ornaments, if you want to see it on a flat plate.
Print settings for place cards
These settings suit standing names in PLA. They print all the cards on one plate with a clean face and solid letters.
| Setting | Value | Why |
|---|---|---|
| Orientation | Face down, flat on the bed | The face gets the smooth or textured finish of the build plate |
| Layer height | 0.2 mm | Fast, and the face color fills exactly four layers |
| Walls | 3 | Keeps thin letter strokes solid |
| Infill | 15 to 20% | Plenty for a part that only stands on a table |
| Nozzle temperature | 410 to 428 °F (210 to 220 °C) | Normal PLA range; follow your spool label |
| Bed temperature | 131 to 140 °F (55 to 60 °C) | Good first layer grip on PEI |
| Supports | None | The shape is a straight extrusion with no overhangs |
| Spacing on the plate | At least 5 mm between cards | Room for clean walls and easy removal |
A textured PEI plate gives the face a fine sparkle finish that looks great on a table. A smooth plate gives a glossy face instead. Let the bed cool before you pop the cards off, so thin letters do not bend. If you print lithophanes too, note that these settings are very different from the slow, fine lithophane print settings. Switch your profile back afterwards.
Color and design ideas for Thanksgiving and Christmas
- Thanksgiving: a cream face on a burnt orange, brown or deep red body. Gold silk PLA on the face catches candlelight.
- Christmas: a white face on red or dark green, or gold on dark green. Pair the cards with a glowing Christmas shadow box lamp as a centerpiece.
- Friendsgiving or a work party: one color per table, so guests can find their table from the door.
- Kids' table: bright single colors and a rounded font. Kids tend to keep them, so make them a little thicker.
- Weddings and showers: the same steps work. Use white or ivory with a gold face, and make a few spares for late changes.
For a keepsake beyond the dinner, a small photo gift goes well with a place card. You can turn a family photo into a glowing panel with the guide to making a lithophane from a photo.
A place card guests can carry: the name keychain version
If you want a smaller favor, make name keychains instead. In Text to STL, pick the Rounded or Auto outline plate. Set the width to 50 to 70 mm and the thickness to 3 mm. Then tick Keychain hole with a 4 to 5 mm hole.
Use the same batch steps for the whole list. Lay each keychain on a folded napkin or lean it against a glass. It is quicker to print than a standing name, and guests are more likely to use it every day.
Troubleshooting 3D printed place cards
- The card tips over. Why: it is too thin for its height, or the bottom has a lip from elephant's foot. Fix: raise the thickness to 12 to 14 mm, and sand the bottom flat on a sheet of sandpaper.
- Letters break apart or have gaps. Why: the font has very thin strokes. Fix: choose a bolder font, or make the card wider so each stroke gets thicker.
- The dot on an i or j falls off. Why: it is a separate island. Fix: check the 3D preview, and pick a font where the dot touches the letter, or use a capital I.
- The face is the wrong color, or both colors mix. Why: the pause is on the wrong layer, or the old filament was not fully purged. Fix: move the slider one layer at a time to find the first body layer, and purge until the new color runs clean.
- Corners lift off the bed. Why: poor bed adhesion on a long, flat part. Fix: clean the plate with dish soap and water, and add a 3 mm brim for long names.
- A long name has tiny letters. Why: the width is fixed, so more letters means smaller ones. Fix: use a first name only, or give long names a wider card.
- Hairs between letters. Why: stringing during travel moves. Fix: dry the filament and lower the nozzle temperature by 5 to 10 °C (9 to 18 °F). Remove any strings with a quick pass of a heat gun on low.
Next steps
Start with one test card tonight, check it stands and reads well, then batch the rest. If you enjoy making gifts this way, the name ornament guide uses the same tool for tree decorations. To decide between a photo gift and a light-and-shadow gift, read shadow lamp vs lithophane.
Frequently asked questions
How long does it take to 3D print place cards?
A single 100 mm wide standing name usually takes 45 to 90 minutes, depending on the printer and the depth. A full plate of eight to twelve names is usually an overnight print, so start a few days before the dinner.
Can I make two-color place cards without an AMS?
Yes. Print the cards face down, start with the face color, and add a pause at the first layer above the face layer. When the printer stops, swap the filament and resume. The rest of the name prints in the second color.
What size should a 3D printed place card be?
About 90 to 110 mm (3.5 to 4.3 inches) wide and 10 to 14 mm deep works on most dinner tables. Long names can go to 130 mm. Anything under 70 mm is hard to read from across the table.
What filament is best for place cards?
Plain or matte PLA. It prints cleanly, comes in fall and holiday colors, and holds up indoors. Silk PLA looks festive but hides small letter details. PETG is fine but strings more.
Can guests take 3D printed place cards home?
Yes, and many do. A standing name works as a desk or shelf name afterwards. For a smaller favor, make a name keychain with a keychain hole instead, and lean it against a glass.
Related guides
- Personalized Christmas ornaments: 3D print names and photos
- Christmas shadow box lamp: 3D print a glowing wall scene
- How to make a lithophane from a photo
- Lithophane print settings for Bambu Lab, Prusa and Ender 3
- Shadow lamp vs lithophane: which to print
Free tools: Lithophane Maker for flat, curved, heart, round and cylinder lamp lithophanes, the Shadow Box Lamp Generator for wall shadow lamps, Text to STL for names and keychains, and 3MF to Web to show your prints on a website. See all tools.