Wireless WiFi OLED Arduino Guide — ESP8266 & ESP32 Live Preview (No USB)
Want wireless OLED Arduino animations without a USB cable? The free OLED animation maker now streams SSD1306 OLED display animation frames to ESP8266 (NodeMCU, Wemos D1) and ESP32 over your home WiFi — the same live preview as WebSerial USB connect, but completely wireless after a one-time sketch upload.
This esp8266 oled wifi and esp32 oled wifi guide covers wiring, the WiFi receiver sketch, local IP setup, and WiFi Connect in Chrome or Edge. Pick 100+ templates, import a GIF, draw pixel art, or play the timeline — your 0.96″ 128×64 OLED updates in real time.
ESP8266 NodeMCU wireless OLED setup
NodeMCU OLED WiFi animation is the most popular wireless setup: cheap ESP8266 boards with built-in WiFi and enough RAM for 128×64 frame buffers. Wire your SSD1306 to D2 (SDA) and D1 (SCL), upload the WiFi receiver from the app, and stream nodemcu oled animation frames from oledanimationmaker.com on the same router.
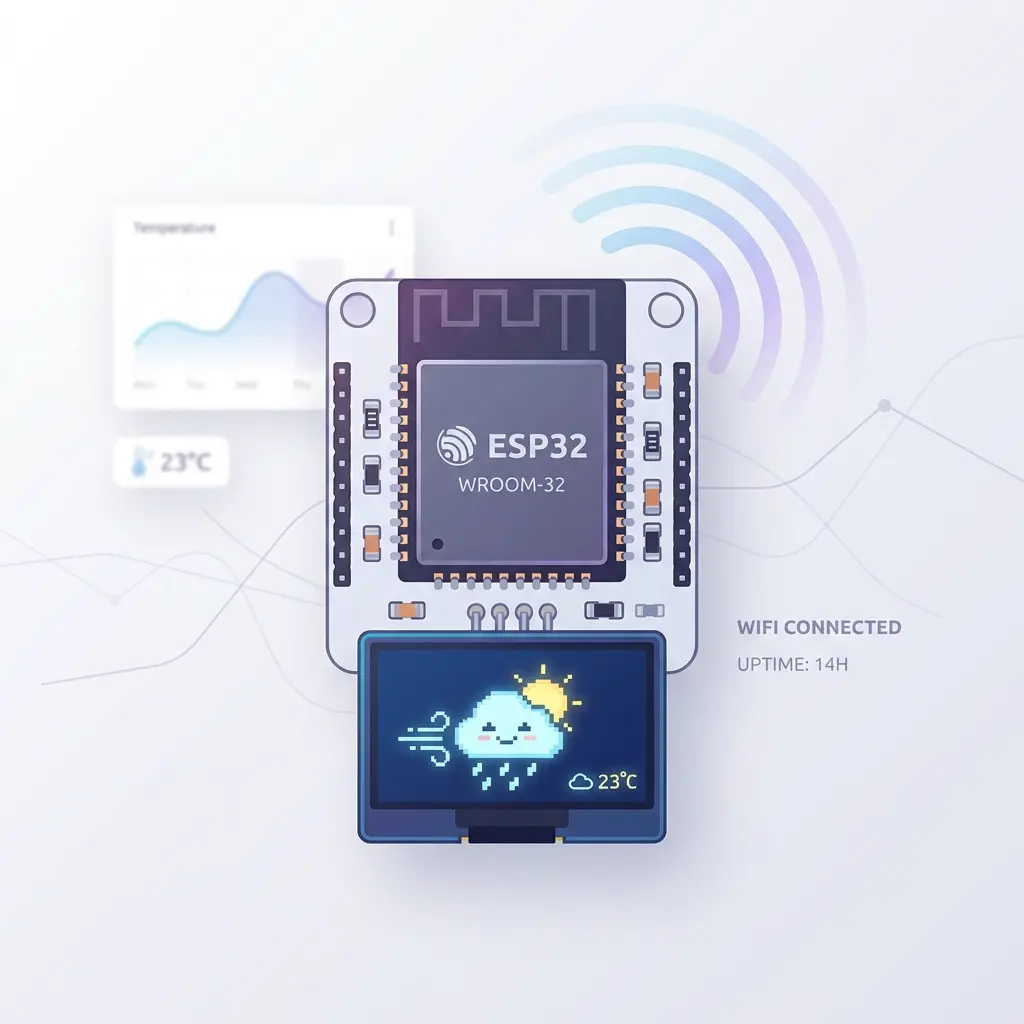
ESP32 SSD1306 wireless OLED setup
ESP32 OLED animation over WiFi uses GPIO 21 (SDA) and 22 (SCL). The workflow is identical to ESP8266 — select ESP32 DevKit in the tool, copy the WiFi receiver, set your router credentials, and use WiFi Connect with the IP shown on the display. See also our full ESP32 OLED animation guide.
WiFi vs USB — which should you use?
| Method | Boards | Cable | Internet while editing |
|---|---|---|---|
| 📡 WiFi Connect | ESP8266, ESP32 | None after upload | ✅ Yes (home WiFi) |
| 🔌 USB Connect | Uno, Nano, ESP32, ESP8266… | USB required | ✅ Yes |
Important: The ESP connects to your existing router — not a separate “ESP-only” hotspot. That way oledanimationmaker.com keeps working and you do not lose internet on your phone or laptop.
What you need
- ESP8266 (NodeMCU / Wemos D1) or ESP32 DevKit
- 128×64 SSD1306 OLED (0.96″ typical)
- Home WiFi network (router) — SSID and password
- Arduino IDE with ESP board support + Adafruit SSD1306 library
- Google Chrome or Microsoft Edge on the same WiFi network
- oledanimationmaker.com — free, no install
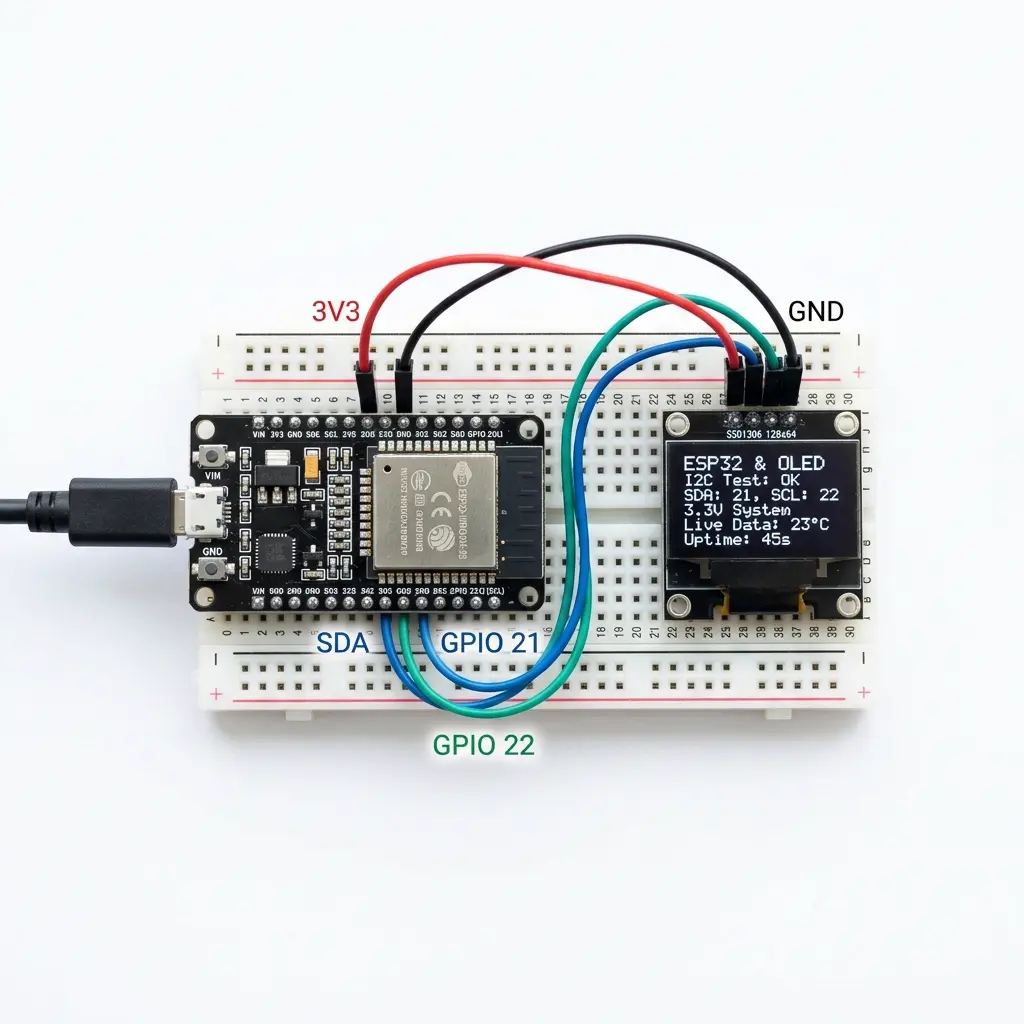
Step 1: Wire the OLED
Connect I²C OLED to your ESP board (3.3V only):
- ESP8266 (NodeMCU): SDA → D2, SCL → D1, VCC → 3.3V, GND → GND
- ESP32: SDA → GPIO 21, SCL → GPIO 22, VCC → 3.3V, GND → GND
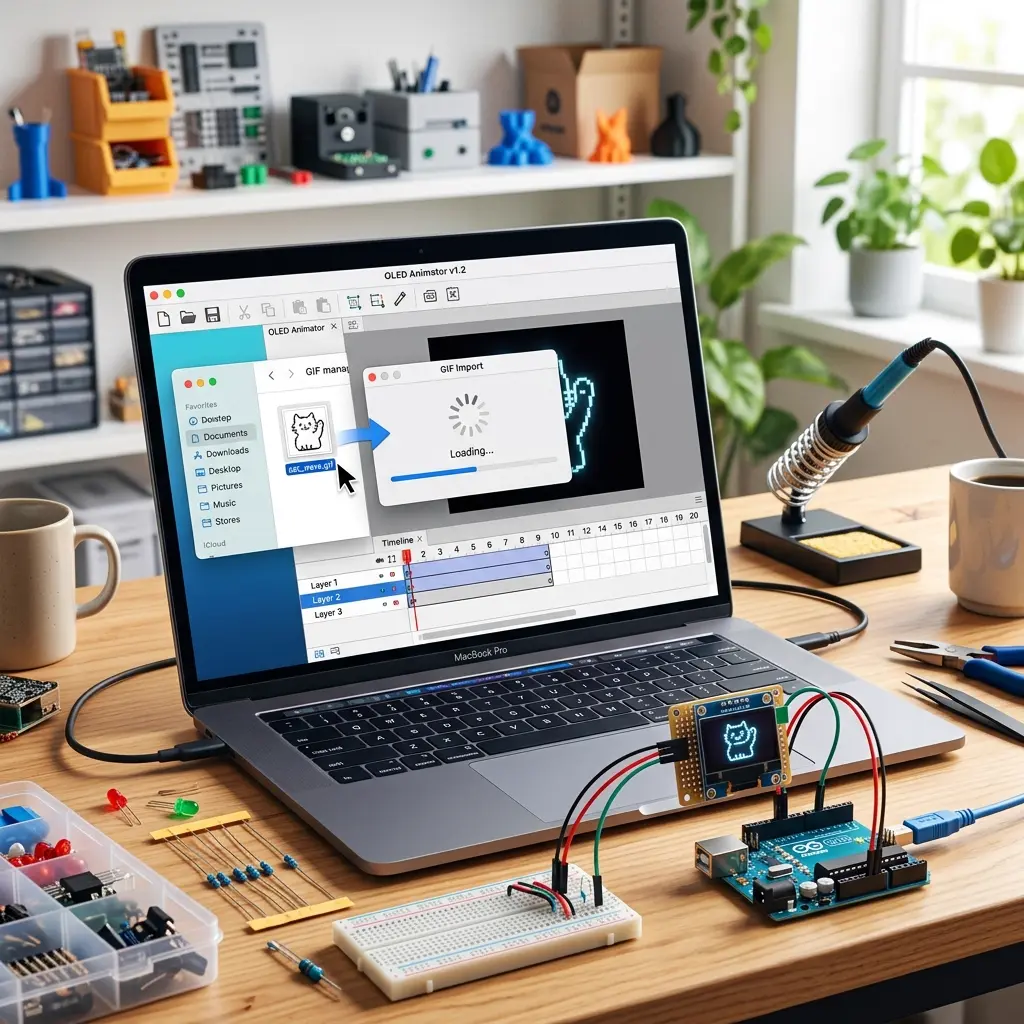
Step 2: Configure the animation maker
- Open oledanimationmaker.com
- Set Board → ESP8266 (NodeMCU) or ESP32 DevKit
- Set Display → 0.96″ 128×64 SSD1306
- Set Library → Adafruit SSD1306
- Set I²C address →
0x3C(or0x3Dif needed)
The WiFi receiver sketch is generated to match these settings — keep them the same in the app and on the board.
Step 3: Upload the WiFi receiver sketch
- Click 📡 WiFi in the app header
- Copy the WiFi receiver sketch
- Edit these two lines at the top of the sketch:
const char* WIFI_SSID = "YourHomeWiFi"; const char* WIFI_PASS = "your-wifi-password"; - Paste into Arduino IDE, select NodeMCU 1.0 or ESP32 Dev Module
- Upload once — you can unplug USB after this if you power the ESP another way
On boot, the OLED shows “Connecting WiFi”, then your ESP’s local IP address (e.g. 192.168.0.109). Write it down.
Step 4: Connect wirelessly in the browser
- Make sure your phone or PC is on the same home WiFi as the ESP
- Open oledanimationmaker.com (internet works normally)
- Click 📡 WiFi → enter the IP from the OLED (e.g.
192.168.0.109) - Click Connect WiFi — status should show WiFi Ready
- Pick any template, import a GIF, or draw — animation appears on the physical OLED
If Chrome asks to allow access to devices on your local network, click Allow. This is required for the browser to reach your ESP’s local IP from an HTTPS website.
How it works (under the hood)
The browser sends each OLED frame to http://YOUR_ESP_IP/frame using the same bitmap packet format as
USB WebSerial (0xAA 0xBB + 1024 bytes for 128×64). The ESP decodes the frame and calls
drawBitmap() on the SSD1306. When you change templates or play an animation, new frames stream
automatically — no “Get the Code” upload needed while tuning.
Troubleshooting wireless preview
- “Could not reach the ESP” — wrong IP, ESP offline, or phone on a different WiFi band/network than the ESP
- WiFi failed on OLED — double-check
WIFI_SSIDandWIFI_PASSin the sketch - POST /frame 400 error — re-copy the latest WiFi sketch from the app; display size in the tool must match the sketch (128×64)
- Blank OLED after connect — wrong I²C address (
0x3Cvs0x3D) or SSD1306 vs SH1106 mismatch - Arduino Uno — no built-in WiFi; use 🔌 USB Connect instead
- Compile error on ESP8266 — use the latest sketch from the app; install Adafruit SSD1306 + GFX libraries
When to use WiFi vs Get the Code
- WiFi / USB live preview — editing, trying templates, tuning FPS and pixels
- Get the Code — finished Arduino OLED animation project running standalone without a PC or browser nearby
Frequently asked questions
Do I lose internet when using wireless OLED preview?
No. The ESP joins your existing home WiFi router — it does not create a separate hotspot. Your phone or PC stays on the same network with full internet, and oledanimationmaker.com loads normally.
Which boards support wireless WiFi OLED preview?
ESP8266 (NodeMCU, Wemos D1 Mini, WitPro) and ESP32 DevKit. Arduino Uno has no WiFi — use USB WebSerial Connect instead.
Is wireless preview the same as USB Connect?
Yes. Templates, GIF import, drawing, and timeline playback all stream to the physical OLED the same way. USB uses WebSerial; wireless sends frames over your local network.
Can Arduino Uno show wireless OLED animations?
Not with this feature — Uno needs an external WiFi shield. Use USB Connect on Uno, or upgrade to ESP8266 / ESP32 for wireless ssd1306 wifi arduino preview.
What display size and driver are supported?
128×64 SSD1306 with Adafruit SSD1306 library and I2C 0x3C or 0x3D.
Match display settings in the app to your uploaded sketch.
Try wireless WiFi preview — free
Upload the WiFi receiver once, click 📡 WiFi Connect, and show any animation on your OLED without a USB cable.
Open OLED Animation Maker →Popular searches: wireless oled arduino · wifi oled esp8266 · esp32 oled wifi animation · nodemcu oled animation · wemos d1 oled wifi · oled live preview no usb · ssd1306 wifi arduino · esp8266 ssd1306 animation · 0.96 oled esp32 wifi · oled animation maker wireless · arduino oled without usb cable · i2c oled esp8266 live preview