How to Create SSD1306 OLED Animations for Arduino

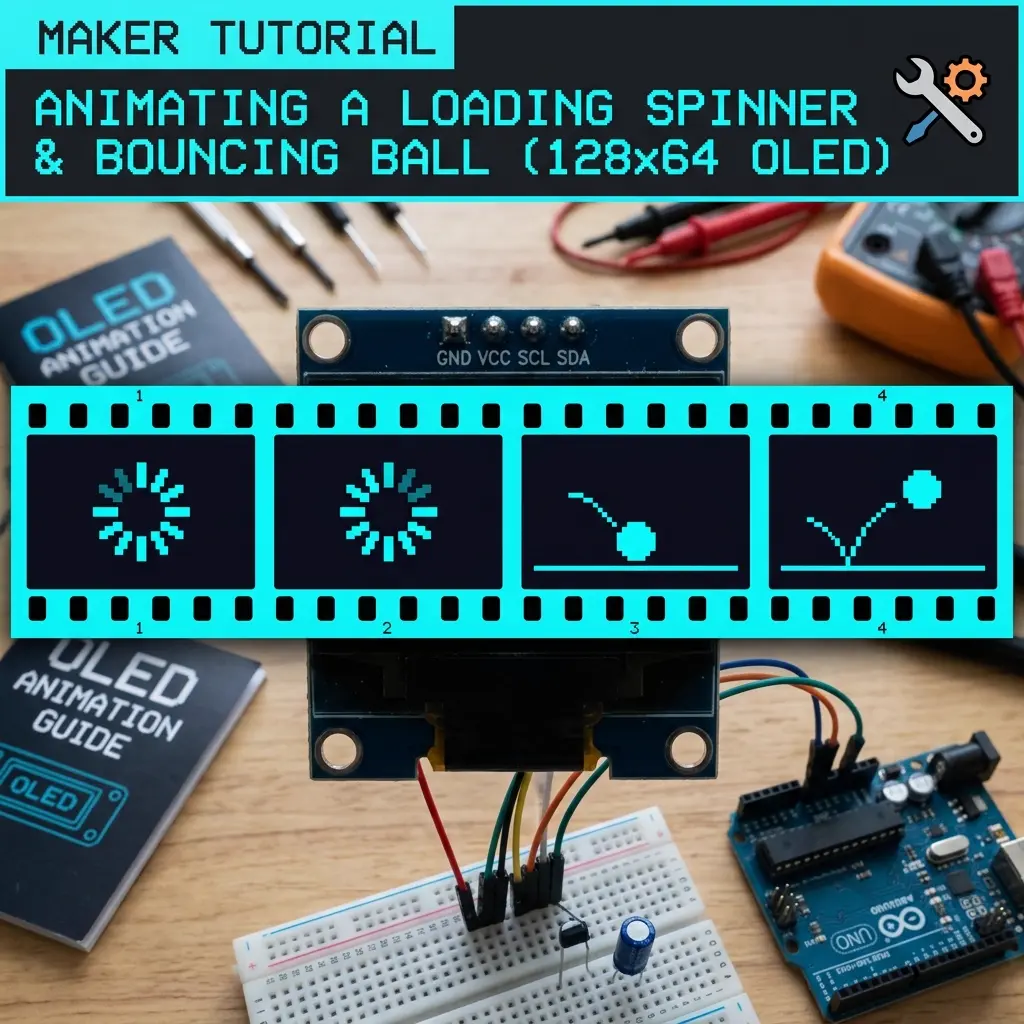
The first OLED animation I ever made was a bouncing ball. Sounds simple, right? It took me an entire evening. I didn't understand how frames worked, my ball kept leaving trails across the screen, and the animation ran so fast it looked like a blur. By the end of the night though, I had a smooth little ball bouncing around my 0.96-inch display, and I was hooked. That tiny animation felt like a huge accomplishment.
If you're here, you probably want to create your own SSD1306 OLED animations—maybe a loading spinner, a weather icon, an animated face for a robot, or custom pixel art. Whatever it is, this guide will save you from the frustration I went through. I'll explain exactly how OLED animations work under the hood, walk you through creating frames, and show you how to generate the Arduino code that brings them to life.
Here's the core concept in one sentence: an OLED animation is just a series of still images (frames) shown one after another, fast enough that your eye sees smooth motion. It's exactly like a flipbook or an old-school cartoon. Once you understand that, everything else is just details. And I'll show you a free tool at the end that handles all those details automatically, so you can create animations in minutes instead of hours.
What you'll need to get started
Before we dive in, let's make sure you have everything. Don't worry, the shopping list is short and cheap:
- A microcontroller – Arduino Uno, Nano, Mega, ESP32, or ESP8266 all work. I'd lean toward ESP32 if you're buying new, since it has way more memory for longer animations (more on that later).
- An SSD1306 OLED display – The classic 0.96-inch 128×64 I²C module. These cost a few dollars and are everywhere online. The 128×32 version works too if you want something smaller.
- Four jumper wires – To connect SDA, SCL, VCC, and GND. Female-to-male if you're using a breadboard.
- The Adafruit SSD1306 and GFX libraries – Free, installed through the Arduino IDE Library Manager. Or U8g2 if you prefer (I'll compare them shortly).
That's genuinely it. No special hardware, no expensive tools. If you've done any basic Arduino project before, you already have most of this lying around.
Step 1: Wire up your OLED display
The wiring is the same as any basic OLED project. Since these displays use I²C, you only need four connections. For an Arduino Uno or Nano:
SDA → A4(the data line)SCL → A5(the clock line)VCC → 5V(power)GND → GND(ground)
Using an ESP32 instead? Then it's SDA → GPIO 21 and SCL → GPIO 22, with power from the 3.3V pin. Most
displays use I²C address 0x3C, but a few use 0x3D—if your screen stays blank later, that's the first
thing to check.
If wiring feels new to you, I wrote a complete beginner walkthrough here: Arduino OLED display tutorial. It covers everything from connecting the first wire to displaying "Hello World."
Step 2: Understand how OLED animations actually work
This is the part that confused me when I started, so let me break it down properly. Understanding this will make everything else click into place.
Each frame is a tiny black-and-white image
Remember, the SSD1306 is monochrome—every pixel is either ON (lit up) or OFF (dark). So each frame of your animation is basically a grid of on/off values. For a 128×64 display, that's 8,192 pixels per frame, each one just a single bit (1 or 0).
To save space, these bits get packed together. Eight pixels fit into one byte. So a full 128×64 frame takes exactly 1,024 bytes (that's 8,192 pixels ÷ 8 pixels per byte = 1,024 bytes, or 1KB). This matters a lot for memory planning, which I'll cover below.
Frames are stored in PROGMEM (flash memory)
Here's a key concept: your animation frames are stored in PROGMEM. What's PROGMEM? It stands for "program memory"—basically the flash storage where your code lives. We store frames here instead of in RAM because RAM is tiny (only 2KB on Arduino Uno!) while flash is much bigger (32KB on Uno).
Think of it like this: RAM is your desk (small, fast, for active work), and flash/PROGMEM is your filing cabinet (bigger, for storage). You keep your animation frames in the filing cabinet and pull out one at a time to display it.
The playback loop ties it all together
The actual animation happens in your code's loop() function. Here's the simple cycle that repeats over and over:
- Clear the display –
display.clearDisplay()wipes the screen black - Draw the current frame –
display.drawBitmap()paints the frame's pixels - Push it to the screen –
display.display()actually updates the physical OLED - Wait a bit – a short
delay()controls how long each frame shows (this sets your FPS) - Move to the next frame – increment a counter, loop back to the next bitmap
A common rookie mistake (I made it too): forgetting display.display(). Without it, you draw frames
into a buffer but never actually show them on the screen. You'll stare at a blank display wondering why nothing's happening. Always
call display.display() after drawing!
Memory planning: How many frames can you fit?
This is where board choice really matters. Since each 128×64 frame eats 1KB of flash, your total frames are limited by your board's storage. Let me give you real numbers:
| Board | Flash Memory | Practical Frame Limit* |
|---|---|---|
| Arduino Uno/Nano | 32 KB | ~20-25 frames |
| Arduino Mega | 256 KB | ~200 frames |
| ESP8266 | 4 MB | Hundreds of frames |
| ESP32 | 4 MB | Hundreds of frames |
*Practical limit accounts for your actual program code also needing space. You can't use 100% of flash for frames.
The takeaway: If you're on an Arduino Uno, keep animations short and sweet—10 to 20 frames is the sweet spot. If you want longer, smoother animations or multiple animations in one project, grab an ESP32. I learned this the hard way after my Arduino Uno ran out of memory halfway through a 30-frame animation. The compiler just threw an error and I had no idea why until I did the math.
Step 3: Create your animation frames
Now for the fun part—actually making your frames. You've got three main approaches, and I've used all of them depending on the project:
Option 1: Draw frames by hand (most control)
If you want custom pixel art—like a unique robot face or a logo animation—drawing by hand gives you total control. You use a pixel editor to place each pixel, frame by frame. It's tedious for long animations, but for short loops (like a 4-frame blinking eye) it's totally doable and honestly kind of relaxing.
Option 2: Import a GIF (fastest for existing animations)
Found a cool animated GIF online? You can convert it directly to OLED frames. The tool splits the GIF into individual frames, converts each to black-and-white (using dithering for shading), and resizes to fit your display. This is my go-to when I want something quick. I cover the full process in my GIF to OLED guide.
Option 3: Use templates (zero effort)
The OLED animation maker has 100+ ready-made animations—loading spinners, weather icons, faces, UI elements, and more. Just pick one and you're done. Perfect when you need a standard animation (like a loading indicator) and don't want to reinvent the wheel.
Step 4: Generate the Arduino code
Here's where the manual approach gets painful, and where I strongly recommend using a tool. Let me explain the difference.
The manual way: Tools like image2cpp can convert a single image to a bitmap array. But for an animation, you'd have to convert each frame separately, paste all those arrays into your sketch, manually create a frame index, write the timing logic, and build the playback loop yourself. For a 15-frame animation, that's a lot of error-prone copy-pasting. One wrong array size and your animation glitches.
The easy way: A dedicated OLED animation maker generates the complete, ready-to-upload sketch for you. That includes all the bitmap arrays in PROGMEM, the setup code, the frame array, timing logic, and a working playback loop. You literally just copy, paste into Arduino IDE, and upload. What took me an evening the first time now takes about two minutes.
Adafruit SSD1306 vs U8g2: which library for animations?
The tool can export code for either library, so here's how to choose:
- Adafruit SSD1306 uses
drawBitmap()from the GFX library. It's beginner-friendly, well-documented, and what most tutorials use. Start here if you're new. - U8g2 uses
drawXBMP()and is popular for ESP32 projects. It's more memory-efficient and has better font support, but the syntax takes some getting used to.
My honest advice: pick one and stick with it for your whole project. Mixing libraries causes headaches. I default to Adafruit for quick projects and U8g2 when memory is tight.
Step 5: Upload and test on real hardware
Once you've got your code, open it in Arduino IDE, select your board and port, and hit Upload. After a few seconds, your animation should spring to life on the physical OLED. There's something genuinely satisfying about seeing your creation move on real hardware for the first time.
If the motion feels too fast or too slow, adjust the FPS (frames per second) in the tool and regenerate the code. Or if you're on ESP32, use WebSerial live preview to tweak the timing in real time without re-uploading—it's a massive time-saver.
Tips for smooth, professional-looking animations
After making dozens of these, here are the lessons that made the biggest difference in how my animations look:
- Keep contrast high. On a 1-bit display, thin gray lines just disappear—a pixel is either on or off. Use bold, solid shapes rather than delicate details.
- Match FPS to the motion. Use 10-15 FPS for UI icons and slow animations; bump it to 20+ for fast loaders and spinning elements. Too low looks choppy, too high wastes frames (and memory).
- Always test on real hardware. The virtual preview is great, but actual OLEDs can render slightly differently. What looks perfect on screen might need tweaking on the physical display.
- Use non-blocking timing for complex projects. Instead of
delay(), usemillis()to time your frames. This lets your Arduino do other things (read sensors, check buttons) while the animation plays. - Start simple. Get a basic 4-frame animation working before attempting a 30-frame masterpiece. Build your skills gradually.
Create SSD1306 animations online — free
100+ templates, pixel editor, GIF import, instant Arduino export.
Open OLED Animation Maker →Popular searches: ssd1306 animation arduino · progmem bitmap · drawbitmap ssd1306 · 0.96 oled animation · create animations for arduino · oled animation maker · monochrome oled bitmap
Frequently asked questions
How many frames can an Arduino Uno store for OLED animation?
Each 128×64 frame uses about 1KB in PROGMEM, and the Uno has 32KB of flash total. After accounting for your program code and libraries, you can practically fit around 20-25 frames. For longer animations, use an ESP32 or ESP8266 with 4MB of flash.
Why does my OLED animation leave trails or ghosting?
You're probably not clearing the display between frames. Call display.clearDisplay() at the start of each frame
before drawing the new bitmap. Without it, old pixels stay lit and new ones draw on top, creating trails.
What's the best FPS for OLED animations?
For most UI icons and smooth animations, 10-15 FPS looks great. For fast-spinning loaders, go up to 20-25 FPS. Higher FPS uses more frames (and more memory), so balance smoothness against your board's storage.
Can I use the same animation code for SH1106 displays?
Almost—SH1106 displays need a 2-pixel column offset because of how their memory is mapped. The OLED animation maker handles this automatically when you select SH1106. See our SH1106 vs SSD1306 guide for details.
My animation compiles but the screen stays blank. Why?
Three common causes: (1) wrong I2C address—try 0x3D instead of 0x3C, (2) you forgot display.display() after
drawing, or (3) SDA and SCL wires are swapped. Run an I2C scanner sketch to confirm your display's address first.