GIF to OLED Arduino: Convert Animations in Minutes
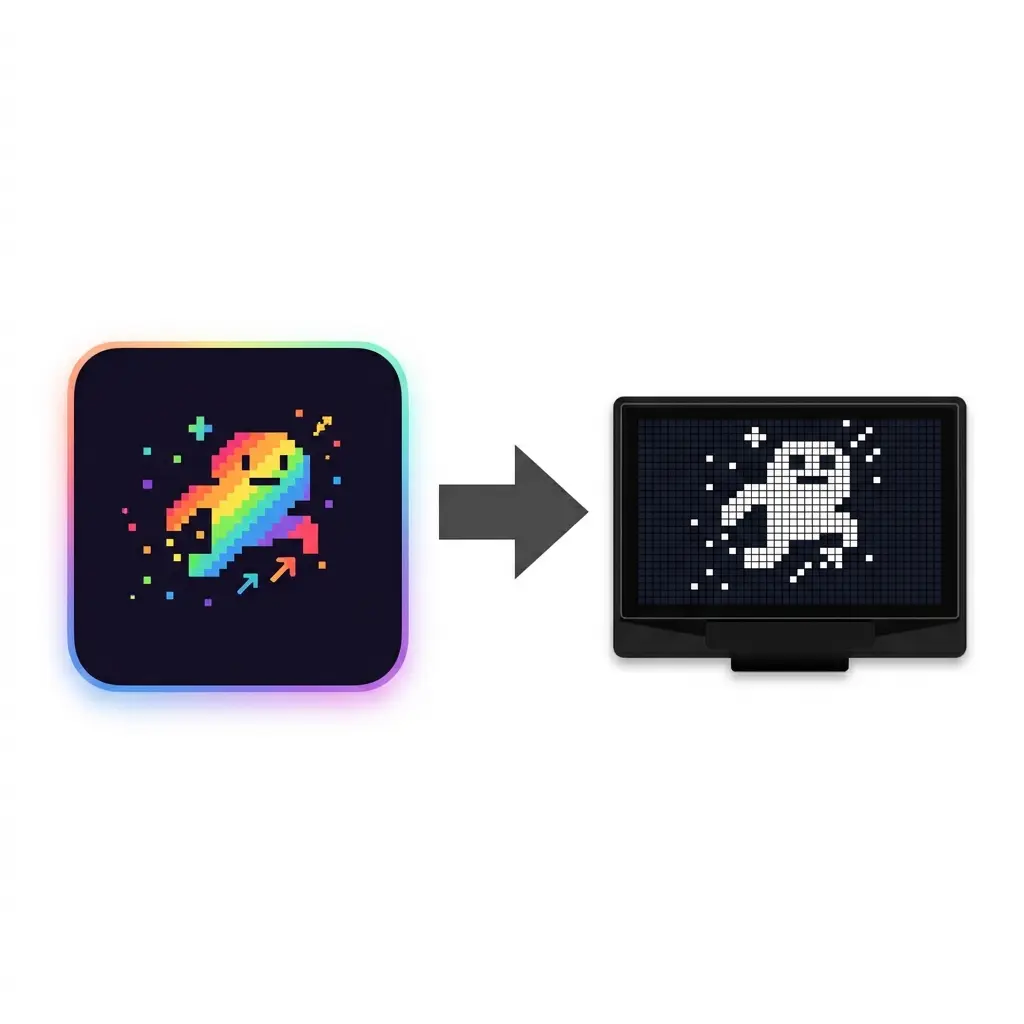
So you found a perfect animated GIF online—maybe it's a spinning logo, a cute pixel art character, or a cool loading animation—and you're thinking "this would look amazing on my Arduino OLED project!" I get it. I've been there. The first time I tried to display a GIF on my 0.96-inch OLED, I assumed I could just load the file onto an SD card and play it. Spoiler alert: that didn't work at all.
Here's the reality: Arduino cannot play GIF files directly on an OLED display. Your Arduino Uno has 2KB of RAM and 32KB of flash storage. A tiny GIF file is often bigger than your entire program memory. Even if you had the space, GIF files use LZW compression (a fancy algorithm) that would bring your 16 MHz Arduino to its knees trying to decode each frame in real-time.
But don't worry—there's a totally doable workaround. The trick is to convert your GIF to OLED Arduino code before you upload it. You extract each frame, turn it into a simple black-and-white bitmap, store those bitmaps in your Arduino's flash memory (using PROGMEM), and then play them back in a loop. That's exactly what this tutorial will teach you to do, and I promise it's way easier than it sounds.
Why you can't just load a GIF file on Arduino
Let me explain what happens when you try to play a GIF on a microcontroller like Arduino. Understanding this will save you hours of frustration (it definitely would have saved me some!).
Problem #1: GIF files are compressed
GIF files use something called LZW compression to keep file sizes small. When you open a GIF on your computer, powerful software decompresses it instantly—so fast you don't even notice. But an Arduino Uno? It's basically a calculator compared to your laptop. Decompressing even a small GIF would take several seconds per frame. Imagine your animation playing at 0.2 FPS instead of 10 FPS. Not exactly smooth.
Problem #2: RAM limitations
A 128×64 pixel display has 8,192 pixels. Even at 1 bit per pixel (black or white), that's 1,024 bytes—half your entire RAM! Add in the GIF decoding buffers, color conversion, and your actual program variables, and you've run out of memory before displaying a single frame. The Arduino will just crash or freeze.
Problem #3: Color conversion headache
Most GIFs you find online are full-color (256 colors or more). But your SSD1306 OLED is monochrome—each pixel can only be on (white) or off (black). Converting color images to black-and-white on-the-fly requires dithering algorithms (like Floyd-Steinberg), which... you guessed it, need more RAM and processing power than Arduino has to spare.
The solution? Do all this heavy lifting before you upload your code. Convert the GIF on your computer (which has gigabytes of RAM and a fast processor), generate simple bitmap arrays, and bake them into your Arduino sketch. Your Arduino just has to show pre-made frames one after another. Easy.
GIF2CPP and similar tools
Projects like gif2cpp (GitHub) convert GIFs to C++ arrays — similar goal to this workflow. Searches for gif2cpp, gif to cpp, and gif to cpp arduino usually mean: take an animated GIF and generate PROGMEM byte arrays for an OLED. Our OLED animation maker is a free online gif2cpp alternative that adds timeline editing, threshold + dithering preview, SH1106 support, U8g2/Adafruit export, video (MP4) import, and create animations for Arduino templates — all in one browser tab, no Go/CLI install.
- gif2cpp — CLI/GitHub tools that output C/C++ frame arrays
- gif to cpp — same job: GIF → C++ headers for Arduino/ESP
- This site — drag-and-drop GIF or video, live OLED preview, full sketch export
Also works as a video to OLED converter
The same Import tab accepts MP4, WebM, and MOV. Use it as a video to OLED converter: crop the clip, auto-sample frames across the duration, tune contrast, then export Arduino OLED animation code. Full guide: Video to OLED converter (MP4 → Arduino).
The manual method: ezgif + image2cpp (the hard way)
Before I show you the easy way, let me walk through the manual process. Understanding this helps you appreciate what's actually happening, and honestly, for a quick 3-frame animation it's totally fine to do by hand. Here's the workflow makers have used for years:
- Split the GIF into frames. Head to ezgif.com/split and upload your GIF. It breaks the animation into individual PNG images—one per frame. A 10-frame GIF gives you 10 separate PNGs.
- Resize each frame. Your frames need to match your display size (usually 128×64). You can do this in ezgif's resize tool or any image editor. Make sure every frame is exactly the same size.
- Convert each PNG to a byte array. Take each frame to a tool like image2cpp, set your threshold, and copy the generated array. You repeat this for every single frame. For 10 frames, that's 10 trips through image2cpp.
- Assemble the Arduino sketch. Paste all your arrays into your sketch, create an array of pointers to each frame,
write a frame counter, and build the playback loop with timing in
loop().
This works, and there's nothing wrong with it. But I'll be straight with you: for anything more than a few frames, it's slow and error-prone. I once converted a 25-frame animation this way and made two mistakes—one frame was the wrong size and another array had a typo. Debugging which frame was broken took longer than the conversion itself. That pain is exactly why the next method exists.
The fast method: online GIF to OLED converter
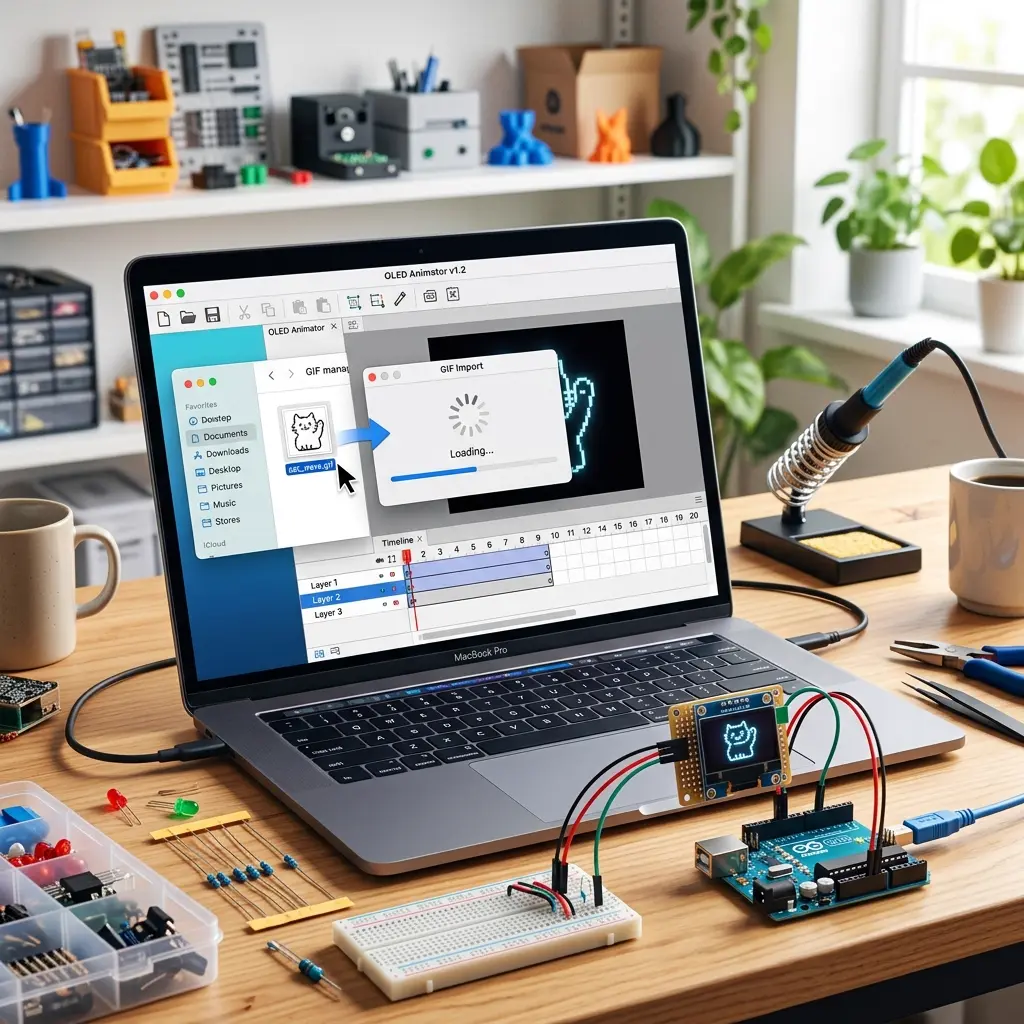
Here's how to do the entire conversion in about a minute, no matter how many frames your GIF has. Open the Import tab on oledanimationmaker.com and:
- Drag your GIF onto the import zone. The tool automatically splits it into frames—no separate ezgif step needed.
- Pick your display settings. Choose your size (128×64, 128×32, etc.) and whether you have SSD1306 or SH1106. The tool resizes every frame for you.
- Tune the conversion. Adjust the threshold slider and toggle dithering while watching a live preview. This is the part I love—you see exactly how the black-and-white conversion looks before committing.
- Preview on the timeline. Scrub through your frames and adjust the FPS until the motion looks right.
- Click "Get the Code." You get a complete Arduino or MicroPython sketch—all the frame arrays, the frame index, timing logic, and playback loop. Copy, paste, upload. Done.
The tool handles dithering, frame extraction, resizing, and generates the entire playback loop. What took me over an hour manually (and produced bugs) now takes about a minute and just works. That's the whole point.
Best practices for converting GIFs to OLED
After converting a lot of GIFs, here are the tips that make the biggest difference in how your animation turns out:
- Keep it short. Aim for 5-20 frames. Remember, each 128×64 frame eats 1KB of flash. On an Arduino Uno, a long GIF will run you out of memory fast. Shorter loops also tend to look cleaner on a tiny screen.
- Choose high-contrast source GIFs. Bold graphics, clear shapes, and simple animations convert beautifully to black and white. Detailed photos or subtle gradients often turn into muddy noise. When in doubt, simpler is better.
- Crop before importing. If your GIF isn't already the right shape, crop it to match your display's aspect ratio (2:1 for 128×64). Otherwise the tool has to squish or letterbox it, which can look off.
- Experiment with dithering. For animations with shading or gradients, turn dithering on—it simulates gray tones with dot patterns. For flat graphics and logos, leave it off for crisp solid shapes. Try both and see which looks better.
- Test on real hardware. The preview is accurate, but actual OLEDs can render slightly differently. Always do a final check on your physical display before calling it done.
Frequently asked questions
Can Arduino play GIF files directly from an SD card?
Not in the way you'd hope. Even with an SD card, Arduino lacks the RAM and speed to decode GIF compression in real time. The standard approach is converting frames to bitmaps beforehand and storing them in PROGMEM, which is what this guide covers.
How many GIF frames can I fit on an Arduino Uno?
Each 128×64 frame is 1KB, and the Uno has 32KB of flash. After your program code, you can realistically fit about 20-25 frames. For longer animations, use an ESP32 or ESP8266 with their 4MB of flash.
Why does my converted GIF look noisy or muddy?
Your source GIF probably has lots of midtones or fine detail that doesn't translate well to 1-bit black and white. Try increasing contrast in the original, adjusting the threshold, or toggling dithering. High-contrast, simple graphics always convert best.
Can I adjust the animation speed after converting?
Yes. The original GIF's timing doesn't carry over—you set your own FPS in the tool's timeline. This is actually an advantage, since you can make the animation faster or slower than the original to fit your project.
How big is one converted frame on a 128×64 OLED?
1024 bytes. The GIF’s compressed file size is irrelevant after conversion. Width times height divided by 8 is the PROGMEM cost of every frame you keep, so eight full frames are 8 KB before library code.
The animation plays, but one frame is a torn stripe. What happened?
That frame’s array is a different length from the others, usually because a PNG was resized to 128×32 or a byte was deleted while pasting. Every frame in the pointer list has to be 1024 bytes for a 128×64 panel. Re-import the GIF so the tool emits one consistent size.
Should I copy the GIF delay into delay()?
Only as a starting point. A 10 FPS GIF is about 100 ms per frame. Use millis() or a single delay at the end of the frame, not a delay between every draw call. If the Uno cannot push I²C that fast, lower the FPS instead of dropping frames by hand.
Convert GIF to OLED code now (gif2cpp-style)
Free browser gif to cpp converter — no install. GIF or video → Arduino C++ / MicroPython.
Try GIF / Video Import →Popular searches: gif2cpp · gif to cpp · gif2cpp alternative · gif to oled arduino · convert gif to arduino code · gif to ssd1306 · gif to oled animation · 0.96 oled gif · video to oled converter · arduino oled display animation code
Worked example: an eight-frame spinner and its flash cost
Take a short loading GIF, eight frames, already square. After import, the tool resizes every frame to 128×64. You do not keep the GIF file on the Arduino. You keep eight PROGMEM arrays. Each full frame is 128 × 64 / 8 = 1024 bytes, so the pictures alone are 8192 bytes. On an Uno that is a comfortable slice of 32 KB flash once the SSD1306 library is in the sketch. A 30-frame version of the same spinner is about 30 KB of bitmaps and will not leave room for the library. That is the cut line, not the GIF’s download size.
Playback is a pointer table and one delay per frame. Ten frames per second means 100 ms between display() calls. The original GIF delay is only a hint. Set the timeline to 10 FPS, export, and the sketch should look like this in spirit (arrays omitted):
const uint16_t FRAME_COUNT = 8;
const uint16_t FRAME_MS = 100; // 10 FPS

void loop() {
  for (uint16_t i = 0; i < FRAME_COUNT; i++) {
    display.clearDisplay();
    display.drawBitmap(0, 0, frames[i], 128, 64, SSD1306_WHITE);
    display.display();
    delay(FRAME_MS);
  }
}
Use the real export’s pgm_read_ptr if the pointer table itself is in PROGMEM. The timing idea stays: one bitmap, one transfer, then wait. Do not call display() inside the converter output twice per frame or the spinner flickers.
Before that upload, confirm the panel. Uno SDA is A4, SCL is A5, address 0x3C. ESP32 is GPIO 21 and GPIO 22. ESP8266 NodeMCU is D2 and D1. If the module is SH1106, export with that controller so the 128-pixel art is placed at column 2 of the 132-wide buffer. A spinner that looks shifted on every frame is the controller, not a bad GIF frame.
Threshold: a flat icon spinner should have dithering off so the arc stays a solid stroke. A shaded emoji needs dithering or it turns into a random speckle. Crop the GIF to a 2:1 frame before import when the subject is a wide scene. A square GIF centered on 128×64 will letterbox, and that is fine if you meant a badge, wasteful if you meant a full-bleed loop.
Troubleshooting a converted GIF
- Upload fails, “sketch too big”. Too many 1024-byte frames for the Uno. Drop frames on the timeline or move the same export to an ESP32 or ESP8266.
- One frame is garbage, the rest are fine. That array’s length is not 1024. Re-import instead of patching hex. A single deleted comma shifts every byte after it.
- Motion is much slower than the preview. I²C
display()of 1024 bytes plus a longdelaystacks. Lower FPS, or switch the panel to SPI if you truly need the GIF’s original rate. - Muddy faces, crisp text elsewhere. Midtones. Raise contrast in the source, move the threshold, or enable dithering only for that clip. Logos usually want dithering off.
- Whole loop is two pixels to one side. SH1106 glass with an SSD1306 export. Re-export. Do not hand-edit every frame’s columns.
- Board resets when the loop starts. Frames were left in RAM. PROGMEM is required. An Uno cannot hold even one 1024-byte RAM copy plus the display buffer and the stack.