How to Live Connect Your OLED to the Browser (WebSerial)

I'll be honest—the single biggest time-waster in my early OLED projects was the upload cycle. Draw a frame, generate code, upload, wait, watch, notice something's off, repeat. Each upload took 30 to 60 seconds, and I'd do it dozens of times tweaking a single animation. I once spent an entire Saturday afternoon just adjusting the timing on a loading spinner. There had to be a better way.
There is, and it's called live connect using the Web Serial API (WebSerial). Here's the idea: instead of uploading a new sketch every time you change something, you upload one "receiver" sketch once. After that, your browser streams animation frames directly to your OLED over the USB cable. Edit a pixel, and it appears on the physical display instantly. No more upload-wait-repeat. It genuinely changed how I design animations.
The free OLED animation maker has this built in. In this guide, I'll walk you through the complete setup for Arduino Uno, ESP32, and ESP8266. It takes about five minutes to set up, and once you experience real-time preview, you'll never want to go back to the old way. Let me show you how.
What is WebSerial and why is it useful?
Let me quickly explain the technology, because understanding it helps when troubleshooting. WebSerial (the Web Serial API) is a feature in modern browsers that lets a website talk directly to devices connected via USB serial ports—like your Arduino. Yes, a website can communicate with your hardware. It sounds a bit wild the first time you hear it.
Normally, only desktop programs (like the Arduino IDE) could access your USB ports. But Google added the Web Serial API to Chrome a few years back, opening up browser-based hardware tools. That's what makes live OLED preview possible without installing any software. Everything happens right in your browser tab.
One important catch: WebSerial only works in Chrome and Edge (and other Chromium-based browsers like Brave or Opera). It does not work in Firefox or Safari—those browsers haven't implemented the API. So if you're a Firefox user like I used to be, you'll need to switch to Chrome or Edge for this feature. It's the one limitation, but a worthwhile trade-off for real-time preview.
What you'll need
- Arduino Uno, Nano, Mega, ESP32, or ESP8266
- SSD1306 or SH1106 OLED (128×64 is the typical size)
- A USB cable that supports data (not a charge-only cable—more on this in troubleshooting)
- Google Chrome or Microsoft Edge browser
- oledanimationmaker.com — free, runs in your browser, no install
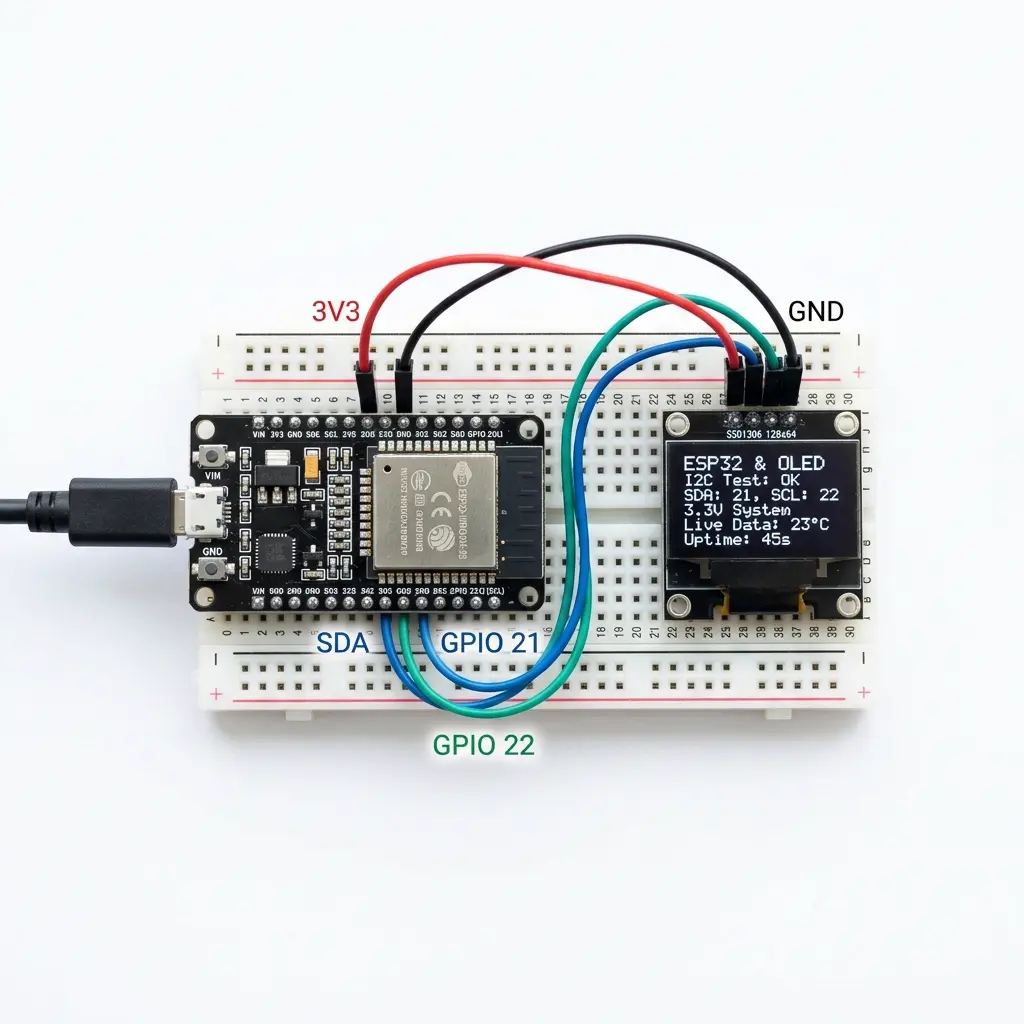
Step 1: Wire the OLED
Connect I²C OLED to your board (see our Arduino OLED tutorial):
- Uno/Nano: SDA → A4, SCL → A5
- ESP32: SDA → GPIO 21, SCL → GPIO 22
- ESP8266: SDA → D2, SCL → D1
Step 2: Configure the tool
- Open oledanimationmaker.com
- In the header, set Board (Uno, ESP32, etc.)
- Set Display — SSD1306 or SH1106, and size (128×64)
- Set I²C address — usually
0x3C
The generated receiver sketch matches these settings automatically.
Step 3: Upload the WebSerial receiver sketch
- Click Connect in the app header (or open the hardware modal)
- Copy the receiver sketch — it matches your board, display, and library
- Paste into Arduino IDE and upload once to your board
- Leave the board powered via USB
You only upload this receiver sketch once per project session (unless you change board or display type).
Step 4: Live connect in the browser
- Click Connect again in Chrome or Edge
- Select your board’s USB serial port when prompted
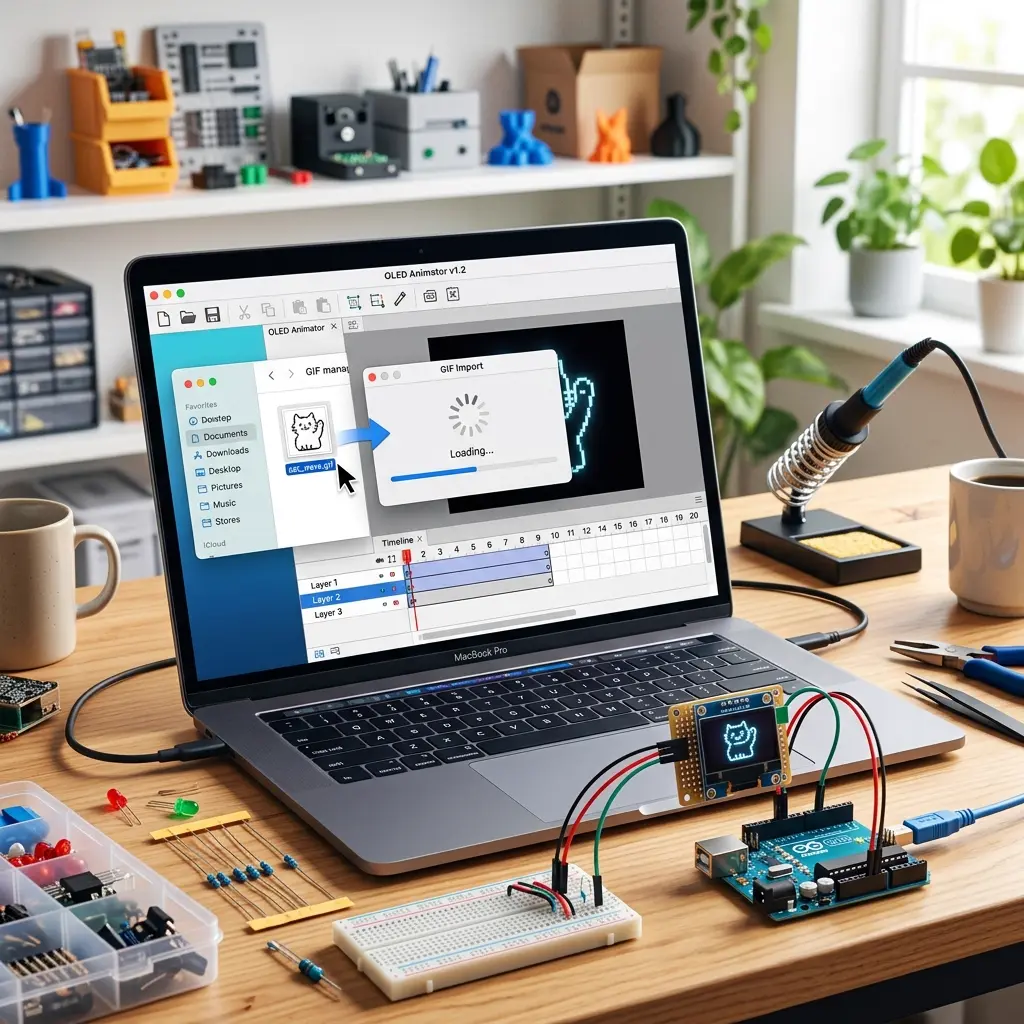
- Draw, import GIF, or play a template — frames stream to the physical OLED
- Adjust FPS on the timeline and see changes in real time
This live oled preview workflow is much faster than uploading a full animation sketch after every edit — ideal for tuning ssd1306 animation timing and pixel art.
Troubleshooting live connect (solutions to every issue I've hit)
WebSerial is reliable once it's working, but the first connection sometimes needs a little troubleshooting. Here are the exact problems I've run into and how to fix each one:
- Your USB port isn't listed when you click Connect. This is usually a driver issue. Many cheap Arduino clones and ESP boards use CH340 or CP2102 USB chips that need drivers installed. Google "CH340 driver" or "CP2102 driver" for your operating system, install it, and restart your browser. Also—and I've embarrassingly done this—make sure you're using a real data USB cable, not a charge-only cable. Charge cables don't have data lines, so your computer won't see the board at all.
- The OLED stays blank after connecting. This is almost always a settings mismatch. Double-check that the I²C address in the tool matches your display (try 0x3D if 0x3C doesn't work), and confirm you picked the right display type (SSD1306 vs SH1106). A mismatch here means data is sent but nothing shows.
- Connect fails or says the port is busy. Only one program can use a serial port at a time. If you have the Arduino IDE Serial Monitor open, close it. That's the most common culprit. Same goes for any other serial terminal program.
- You're using Firefox or Safari. WebSerial simply isn't supported there. Switch to Chrome, Edge, Brave, or another Chromium-based browser. There's no workaround—it's a browser limitation, not a tool issue.
- ESP8266 won't connect properly. Make sure you're powering it at 3.3V and using the D2/D1 pins for SDA/SCL. Check our ESP guide for the full ESP8266 wiring details.
Pro tip: If the connection randomly drops mid-session, don't panic. The receiver sketch is still running on your board. Just click Connect again and pick the port—it reconnects in a second or two. Loose USB cables are the usual cause of drops.
Live connect vs Get the Code: when to use each
These two workflows serve different purposes, and knowing when to use each will save you time:
- Use live connect while you're actively designing—editing frames, debugging an animation, tuning the FPS, or adjusting pixel art. The instant feedback makes this part of the process fast and fun.
- Use Get the Code when your animation is finished and you want it to run standalone. This exports a complete sketch that runs on your board without needing a computer or browser attached. That's what you flash for the final project.
Think of live connect as your "design mode" and Get the Code as your "ship it" mode. I use live connect for 95% of my time building an animation, then Get the Code once at the end to bake it into the final project.
Try live connect now — free
Open the tool, upload the receiver once, click Connect, and preview on your real OLED.
Open OLED Animation Maker →Popular searches: webserial oled arduino · live oled preview · connect arduino to browser · oled animation maker live · webserial ssd1306 · esp32 oled real time