Arduino Battery Voltage on OLED — A Meter You Can Build Today
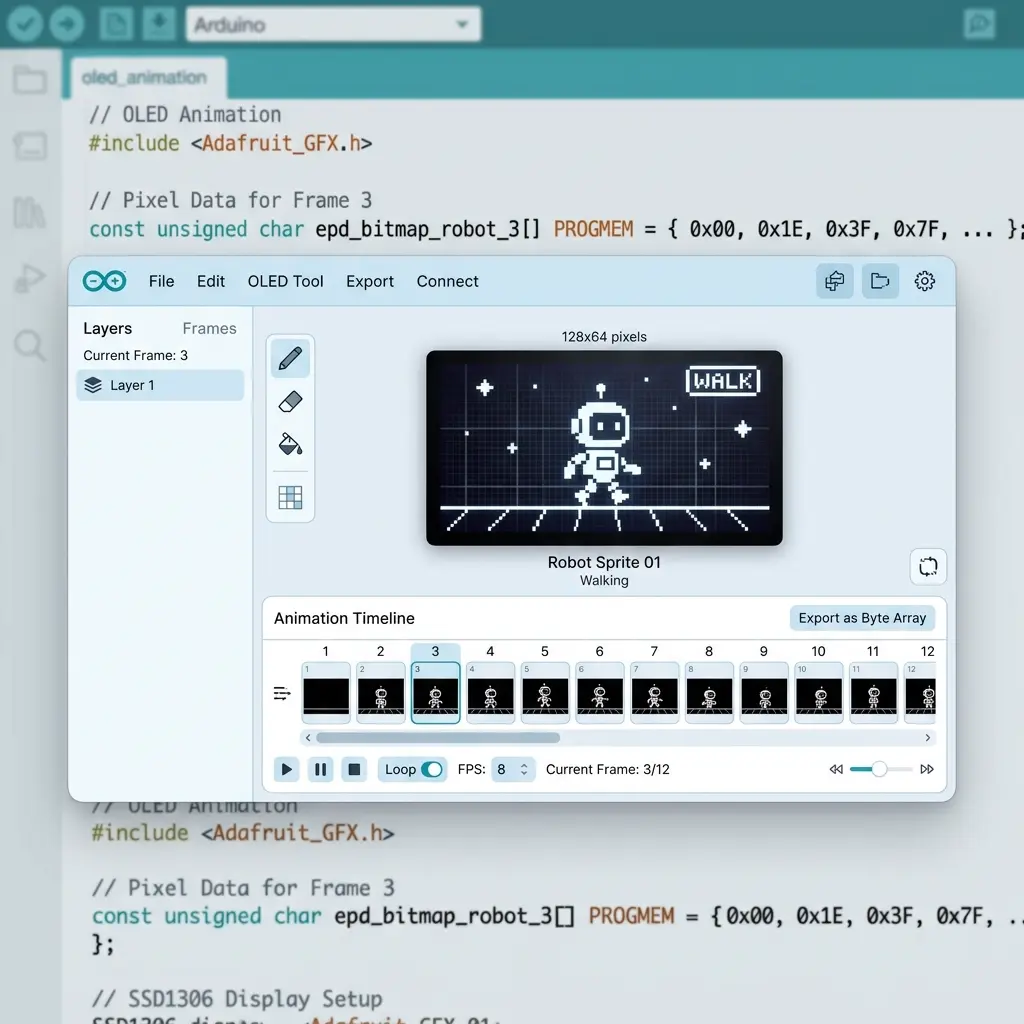
Animations are fun. A voltage readout on a tiny OLED is useful. I use this pattern on robot packs and portable lab boxes so students can see the battery sag under load instead of guessing from a “full” LED that lies.
Warning up front: never put a raw Li-ion pack above 5V straight into an Arduino analog pin.
You need a voltage divider (and preferably a fuse / proper battery protection). This guide assumes a
simple two-resistor divider into A0.
Parts
- Arduino Uno or Nano
- 0.96" I2C SSD1306 OLED
- Two resistors for the divider — e.g. 100k + 100k (÷2) for up to ~10V packs on a 5V Arduino
- Battery pack with a safe measurement point (protected pack recommended)
Divider math (keep it honest)
For resistors R1 (from battery+ to A0) and R2 (from A0 to GND):
V_pin = V_battery × R2 / (R1 + R2)
V_battery = V_pin × (R1 + R2) / R2
Example: R1 = R2 = 100k → divide by 2. A 8.4V 2S pack becomes 4.2V at A0 — safe for a 5V Uno. A 12V lead-acid needs a bigger ratio (for example 100k / 47k) so the pin stays under 5V.
Resistor tolerance is ±1% or ±5%. Your reading will be wrong until you calibrate with a multimeter. That is normal — build calibration into the sketch.
Wiring
- OLED: VCC→5V, GND→GND, SDA→A4, SCL→A5 (Uno)
- Battery+ → R1 → node → R2 → GND
- Node → Arduino A0
- Battery− → Arduino GND (common ground required)
Double-check polarity before connecting a pack. Reverse polarity into the divider can still hurt the pin if you also short something — take a breath, wire once.
Sketch: OLED voltmeter with calibration
#include <Wire.h>
#include <Adafruit_GFX.h>
#include <Adafruit_SSD1306.h>

Adafruit_SSD1306 display(128, 64, &Wire, -1);

// Divider: R1 (top) and R2 (bottom). Change to match your resistors.
const float R1 = 100000.0;
const float R2 = 100000.0;
const float DIV = (R1 + R2) / R2;   // 2.0 for equal resistors

// Measure Arduino 5V rail with a meter if you can; USB is often ~4.9–5.1V
const float VREF = 5.0;

// Tweak after comparing OLED vs multimeter (e.g. 1.02 if you read 2% low)
const float CAL = 1.00;

const int PIN = A0;

float readBatteryVolts() {
  // Average a few samples to reduce noise
  long sum = 0;
  for (int i = 0; i < 16; i++) {
    sum += analogRead(PIN);
    delay(2);
  }
  float adc = sum / 16.0;
  float vPin = adc * (VREF / 1023.0);
  return vPin * DIV * CAL;
}

void setup() {
  analogReference(DEFAULT);
  if (!display.begin(SSD1306_SWITCHCAPVCC, 0x3C)) {
    for (;;);
  }
  display.clearDisplay();
  display.setTextColor(SSD1306_WHITE);
}

void loop() {
  float v = readBatteryVolts();

  display.clearDisplay();
  display.setTextSize(1);
  display.setCursor(0, 0);
  display.println(F("Pack voltage"));

  display.setTextSize(3);
  display.setCursor(0, 22);
  display.print(v, 2);
  display.setTextSize(2);
  display.print(F(" V"));

  // Simple bar (0–12V scale — change maxV for your pack)
  const float maxV = 9.0;
  int bar = (int)constrain(v / maxV * 120, 0, 120);
  display.drawRect(0, 54, 124, 8, SSD1306_WHITE);
  display.fillRect(2, 56, bar, 4, SSD1306_WHITE);

  display.display();
  delay(300);
}
Calibrate in five minutes
- Measure the pack with a decent multimeter.
- Note what the OLED shows.
- Set
CAL = multimeter / oled(example: 8.20 / 8.00 = 1.025). - Re-upload. Check again under a small load — some packs droop; that is real, not a bug.
Also measure the Uno’s 5V pin while powered from USB. If it is 4.85V, put VREF = 4.85.
USB power is rarely a perfect 5.000V.
What this project teaches (beyond the number)
- Analog input limits and why dividers exist
- Noise averaging (
analogReadis jittery on USB-powered boards) - Updating an OLED without flashing the whole UI every microsecond
- Why “percentage battery” from voltage alone is rough — chemistry curves are not linear
Safety notes I tell students
- Use protected Li-ion packs. Bare cells + hobby wiring is how benches get scars.
- Do not power motors from the same weak USB port you use for measurement and expect stable readings.
- If you monitor a car battery, remember load dumps and spikes — add protection or use a proper module.
Ideas to extend
- Add a low-voltage warning icon (flash a bitmap when V < threshold).
- Log min/max since boot.
- Show mV and a bigger bar for classroom demos.
- Combine with a weather page using the DHT22 weather station pattern and a button menu.
- For long battery sessions, blank the OLED between samples — see OLED power consumption.
For icons and bars without hand-packing bitmaps, draw shapes in the shape exporter or drop a small warning glyph from the animation maker.
Percentage is a fiction (worth saying out loud)
Mapping voltage to “78%” looks product-ready and misleads beginners. Lithium curves are flat in the middle and fall off near empty. For a teaching meter, show volts first. If you must show a bar, label it as approximate or calibrated against discharge data for that specific pack chemistry.
Under motor load the voltage sags; at rest it recovers. Sampling only while the robot drives will look “jumpy” even when your divider math is perfect. Average more samples or sample only in a known idle state.
A 2S pack, checked against a meter
Here is the build I use when students bring a 2S Li-ion pack that is supposed to be 8.40 V full and about 6.0 V empty (3.0 V per cell). Resistors are R1 = 100k from pack+ to the A0 node, R2 = 100k from that node to GND, so the pin sees half. At 8.40 V the node is 4.20 V, which a 5 V Uno can read. A 3S pack at 12.6 V would put 6.3 V on A0 with this same pair — that is over the pin limit. Do not reuse equal resistors for anything that can exceed about 10 V on a 5 V Arduino.
USB “5 V” on the Uno I last measured was 4.95 V, so VREF in the sketch should be 4.95, not a hopeful 5.00. With the pack at a real 8.40 V, the ADC count is about 4.20 / 4.95 × 10²³ ≈ 868. If the code still assumes VREF = 5.0, it turns 868 into about 4.24 V at the pin and 8.48 V on the OLED. The divider is fine; the reference is not. Set CAL = 8.40 / 8.48 ≈ 0.99 only after VREF matches the 5 V pin, then confirm again with a 100 Ω load or a small motor so you can see sag. Sag that recovers when the load stops is the pack, not a software bug.
A 100 nF ceramic from the A0 node to GND, close to the Arduino, knocks down the jumpy least-significant bit you get on a USB-powered bench. Keep the OLED on A4/A5 (or pins 20/21 on a Mega) and the divider only on A0. Mixing the battery node into SDA is how a voltmeter takes down the display.
For a low-battery mark I draw a second line under the volts instead of a fake percentage. With this 2S chemistry I treat under 6.4 V as “stop driving” and under 7.4 V as “getting low,” and I print those words only. The bar in the sketch above stays a voltage bar: change maxV to 8.4 if the pack is 2S, not 9.0.
display.setTextSize(1);
display.setCursor(0, 12);
if (v < 6.4) display.print(F("STOP - pack low"));
else if (v < 7.4) display.print(F("Low"));
else display.print(F("OK"));
Sample while the robot is idle if you want a stable number, and sample again while the motors run if you want to see sag. Showing both, a half-second apart, teaches more than a single filtered average that hides the dip.
Readings that cannot be real
- OLED shows 0.00 V and never moves. A0 is not on the resistor node, R1 is open, or the pack negative is not tied to Arduino GND. Meter the node. If the meter sees half the pack and the OLED sees zero, the jumper into A0 is the break.
- Reading stuck near the top of the scale (about
VREF × DIV). R2 is open, so A0 floats or is pulled up, or the formula uses 4095 on a 10-bit Uno. Uno and MegaanalogReadtop out at 1023. ESP32 Arduino cores are usually 0–4095 against 3.3 V. Mixing those constants makes a 7 V pack look like 16 V. - Number jumps by 0.1–0.3 V every refresh. Too few samples, no capacitor on the node, or you are reading while a motor shares the USB port. Average 16 or 32 samples, add 100 nF, and do not power the motor from the same laptop port you use as the ADC reference.
- Multimeter and OLED disagree by a fixed ratio. That is
CALor a resistor that is not the value you typed. 100k marked parts are often ±5%. Measure R1 and R2, put the real ohms in the sketch, then trimCALonce. - Display resets or goes blank when the pack sags. If the Arduino is powered from that same pack through a weak boost module, the OLED’s 1024-byte update is not the cause. The rail dipped. Power the Nano from USB while you debug the divider, then combine supplies only after the volts look right.
- A “78%” label that barely changes for an hour, then falls off a cliff. Lithium voltage is flat in the middle. The meter is behaving. Delete the percentage or label the bar “approx” after you log a real discharge on that exact pack.
Uno, Mega, ESP32, and NodeMCU do not share ADC math
The OLED wiring changes with the board, and the voltmeter math has to change with it. Leaving a Uno sketch untouched on an ESP32 both clips the pin and prints nonsense.
| Board | OLED I2C | ADC to plan for | Divider note |
|---|---|---|---|
| Uno / Nano | SDA A4, SCL A5, OLED VCC 5V | 10-bit, 0–1023, VREF ≈ USB 5 V pin | Equal 100k is fine up to ~10 V packs |
| Mega 2560 | SDA 20, SCL 21 | Same 10-bit ADC as the Uno; A0 still works | Same resistor ratio; move only the I2C wires |
| ESP32 | GPIO21 / GPIO22, OLED on 3.3V | Typically 12-bit, 0–4095, about 3.3 V | Keep the pin under 3.3 V. Try R1=200k, R2=100k (÷3): 8.4 V → 2.8 V |
| ESP8266 NodeMCU | SDA D2, SCL D1, OLED on 3.3V | A0 is 0–1023 and the board accepts about 0–3.3 V | Do not land a 4.2 V tap on A0. The bare ESP8266 ADC is 0–1 V; the NodeMCU divider is what makes 3.3 V legal |
On ESP32, an 8.40 V pack through equal 100k resistors is 4.20 V at the pin. That is above 3.3 V. Use a heavier top resistor, confirm the node with a meter before you touch the GPIO, and change the sketch to adc * (3.3 / 4095.0) * DIV. Address 0x3C (sometimes 0x3D) is unchanged. A 128×64 frame is still 1024 bytes of buffer, which is comfortable on ESP32 and tight if you also keep large logs on an Uno.
If the OLED is an SH1106, the voltage code is the same and the constructor is not. A two-column shift on the “Pack voltage” label is the display driver, not the divider. Fix that before you chase CAL.
FAQ
Can I measure a 1S Li-ion without a divider?
On a 5 V Uno, a single cell stays under 4.2 V, so A0 can read it directly if pack− is common with GND. Still fuse or otherwise protect the pack, and do not do this on an ESP32 or NodeMCU: 4.2 V is above a 3.3 V pin. Use a divider there anyway.
Why did my “percentage” stay at 80% until the robot died?
Resting voltage on lithium is flat through the middle of the discharge. A straight line from 8.4 V to 6.0 V is not state of charge. Show volts. Add a percent only after you record a discharge curve for that pack and that load.
The OLED meter works on USB and reads high when I power the Nano from a boost converter. What changed?
The ADC reference moved. Measure the 5 V (or 3.3 V) pin under that supply and put the number in VREF. A boost module at 5.2 V with VREF still 5.0 makes every pack look high by about 4%.
Does the refresh rate of the SSD1306 affect the voltage?
No. analogRead is independent of the 1024-byte frame. Updating the OLED every 300 ms is plenty for a pack meter. Calling display() in a tight loop only wastes bus time and makes the number harder to read. I2C is the right bus for this UI; you do not need SPI unless the same board is also pushing high frame-rate bitmaps.
Related
- Stretch OLED battery life
- Bars & gauges UI
- Multi-page menu
- OLED wiring + Hello World
- Blank screen checklist
- GFX shapes for UI chrome
Add a battery icon animation later
Design a charging/empty glyph, export drawBitmap code, drop it into this meter.
Open the free tool →